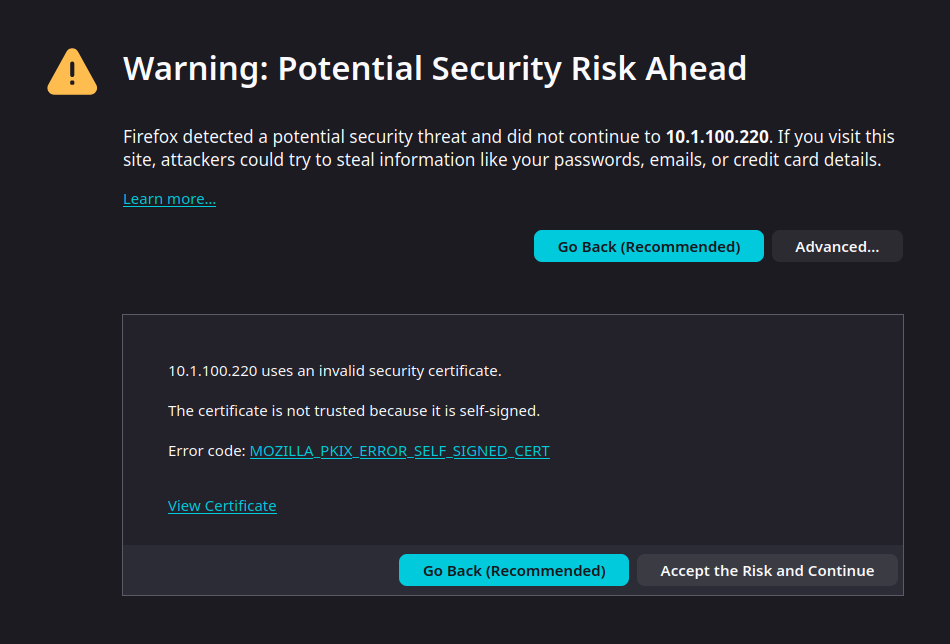
Browsing to the assigned IP address for the first time will likely present a similar screen warning about the self-signed certificate. It is safe to hit ‘Advanced’, then ‘Accept the Risk and Continue’.
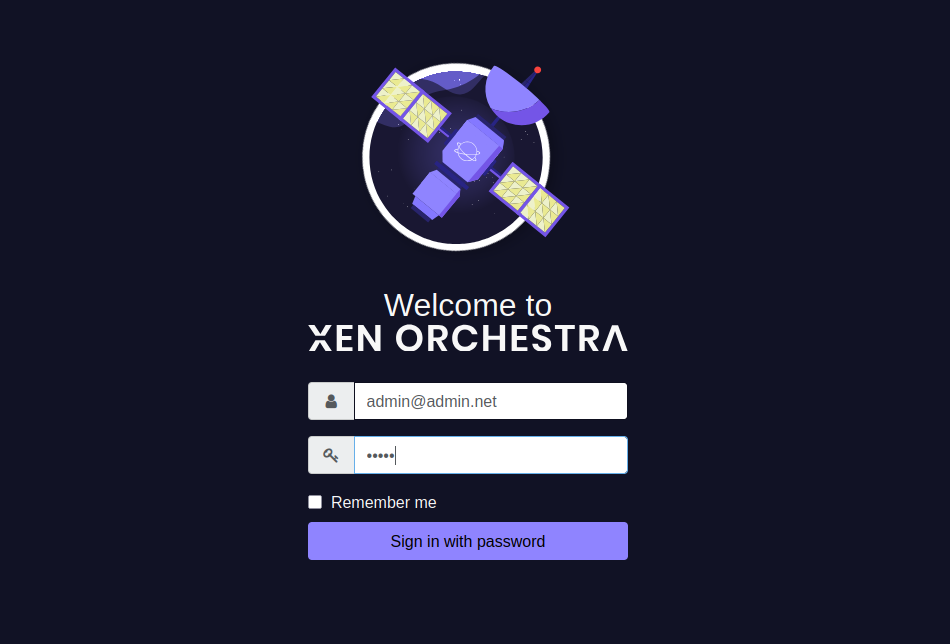
At the login screen, enter ‘[email protected]’ for the username, and ‘admin’ for the password.
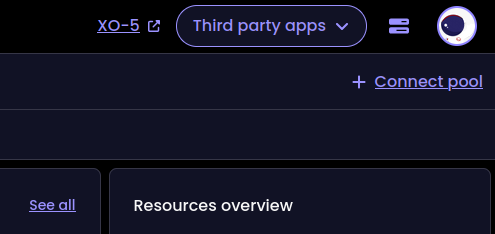
XO v6 was recently released, but is still in very active development. Despite being very pretty, many things are not yet implemented in v6 and simply link back to v5. For that reason, and because my experience is mainly with v5, the rest of this tutorial will focus there. I may come back with a follow-up on the current state of v6 soon. Click ‘XO-5’ to load v5 in a new browser tab.
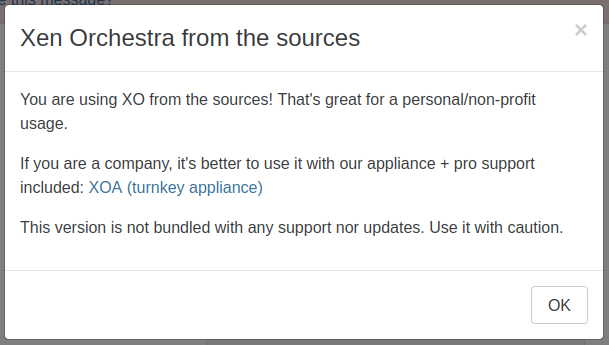
Take a moment to read the note in the popup that displays on first load. Also note the banner at the very top that, while it can be made to disappear, cannot be entirely disabled (without modifying the source code).
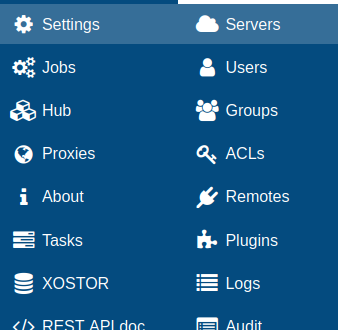
When XO-CE is started for the first time, it is unaware of any hosts or pools. I will connect it to the first host by going to Settings > Servers. ‘Add Server’ in the middle of the page will also work here.

Quick note: Think of servers here as pool masters. It is only ever necessary to have your pool masters listed on this page. Since each standalone host also exists within a pool of the same name, hosts to be added to another pool must first be added on this page and will disappear as they are joined to the pool. This should become more clear shortly.
Enter label, username (root), password, and enable Unauthorized Certificates. Click ‘Connect’.

If everything is correct, and XO is able to connect to the host, it will be added to the list with a green ‘Enabled’ button. This button can be useful later if you ever need to force a disconnect/reconnect from XO to a host/pool master.
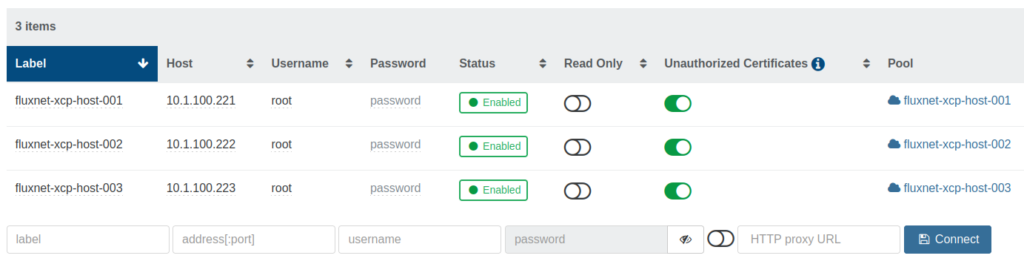
To finish creating the pool in XO, I add the remaining hosts on the previous Settings > Servers page. Notice how all three are currently shown.
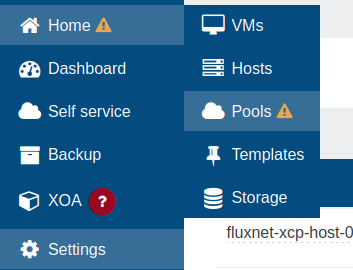
Go to Home > Pools.

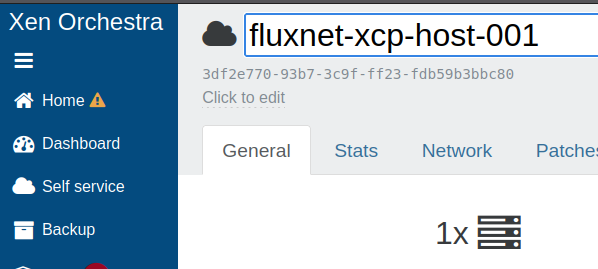
There will be three pools, each with the name of the single host inside them. I will click my first pool here.
Additional notes here:
- The yellow caution (!) triangle next to Home indicates there are missing patches on some/all hosts.
- This is also indicated by the red 78 (or however many patches) next to the name of the pool.
- The yellow caution triangle with 1 in this case is indicating that XCP-ng Pro Support is not available for source users of XO.
- The red ? circle next to XOA is due to the lack of update information within XO, as that would require the use of XOA and an active support license.
This is a good time to change the name of the pool to reflect that it is a pool, and not simply a single host. Just click the name and it will become editable.
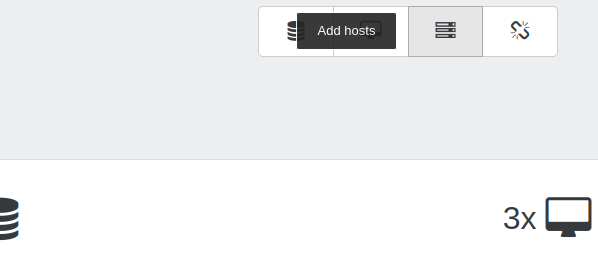
On the same page, click the ‘Add hosts’ button toward the top-right.
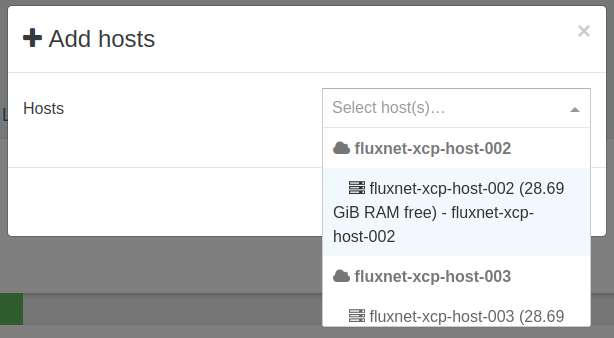
Both of the additional hosts can be selected in the dialog box that pops up. Click ‘Ok’ to continue.
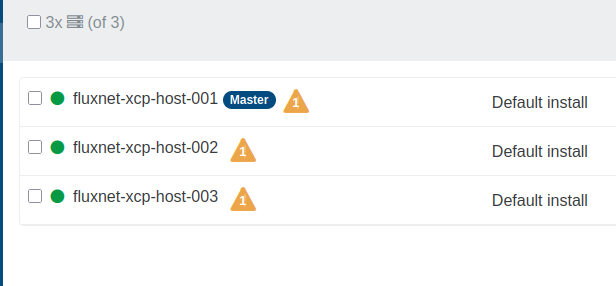
After a brief wait, all three hosts should be visible again on Home > Hosts, each as a member of the same pool (shown to the right of each row).
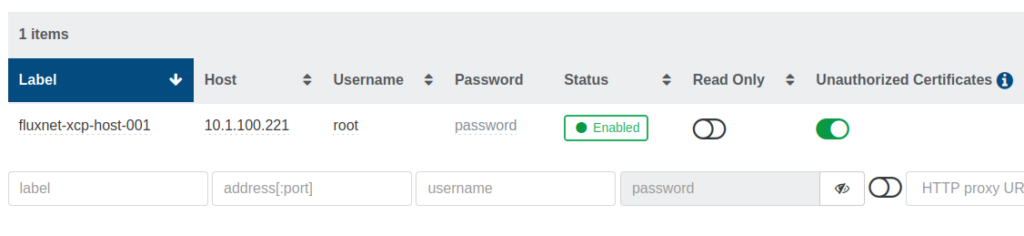
Also, since two of the hosts are no longer pool masters, there is now only one entry remaining on Settings > Servers