This section presumes that there is at least one XCP-ng host installed and available on the network, and is intended to be followed after the previous section on installing XCP-ng.
Xen Orchestra is an interface for managing XCP-ng hosts and pools, including many levels of configuration. Aside from a few key functions, this all can be managed from a host’s command line. Of course, the browser interface makes it all much, much simpler. In addition, Xen Orchestra is capable of managing different backup types and strategies for your virtual machines.
A quick note on the XO acronyms. Nothing official, but how I use them and how I have seen them used.
- XO – When referring to Xen Orchestra in any form
- XOA – Xen Orchestra Appliance, or the version of XO built by and deployed from Vates. Support packages can be purchased through Vates, and this is the option that I would highly recommend if deploying in production environment. Initial deployment and registration for an account comes with a free trial of all of the features, after which it falls back to the feature-limited version.
- XO-CE (or XOCE) – Unofficially Xen Orchestra Community Edition, or Xen Orchestra from sources. This is the option I would recommend in a homelab environment. Deployment is not quite as elegant as XOA, but you are able to retain all features. There are several ways to deploy which I will describe here.
- XO-Lite – Feature-limited version included with each install of XCP-ng, accessible by visiting the host’s IP in your browser, and intended for limited single-host management.
There are several different ways of getting XO up and running on your host(s) and/or pool(s). In the case of XOA, that is as simple as visiting this link in your browser on a PC that can reach the XCP-ng host. Just follow the steps and a few minutes later you will have a fresh XOA deployment. This tutorial focuses on XO-CE, but for more information on how to use XOA you can skip ahead.
Also worth noting, XCP-ng Center is an option if you are on Windows, and the project has a new maintainer and a new release as of August of 2025. XenAdminQt is another locally installed GUI that is currently in alpha. I have little to no experience with either of these, though.
https://github.com/ronivay/XenOrchestraInstallerUpdater
I am posting this prominently because, while the sources are available from the Vates repositories, this particular repository further simplifies XO-CE deployment by maintaining the following:
- Script that can be used to install and update XO-CE within Linux. I would currently recommend a Debian 12 VM.
- Docker image
- VM image easily deployed from host CLI
You will probably want to bookmark it, give it a github star, etc.
Easy Deploy Image Direct to Host
The first two options require an existing Linux installation, preferably a Debian 12 VM. To simplifying things a bit, I am going to start with the VM image that can be deployed from the host CLI. In fact, this method is only slightly more involved than deploying XOA is today, and about the same when considering the XOA browser-based deployment has only been around for maybe a couple of years or so.
Note: This link is copied from that repository, but please verify that it is still correct before executing. Additionally, since this script is run as root, I would recommend browsing the content of the script to verify that it is doing only what you intend.
sudo bash -c "$(curl -s https://raw.githubusercontent.com/ronivay/XenOrchestraInstallerUpdater/master/xo-vm-import.sh)"Open an SSH connection to the host (root@<host IP>), then paste and run that command.
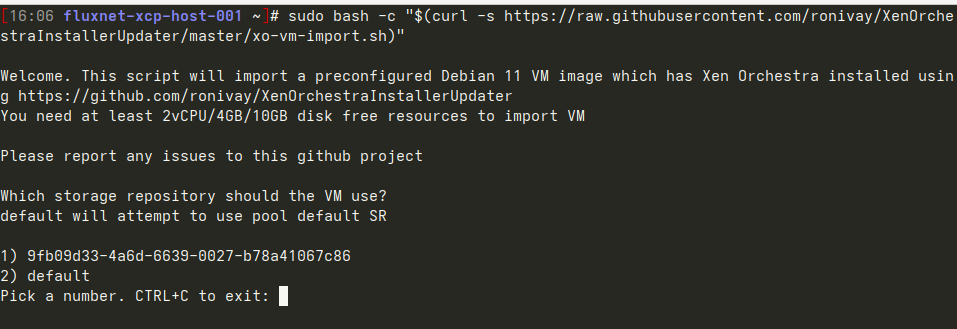
It starts by asking for the VM SR where this VM’s disk will be stored. Either option /should/ work in my case here, but if you are unsure you can do CTRL+C to exit out and then do ‘xe sr-list’ to get a list of all known SRs and verify the UUID, then run the command again to restart.
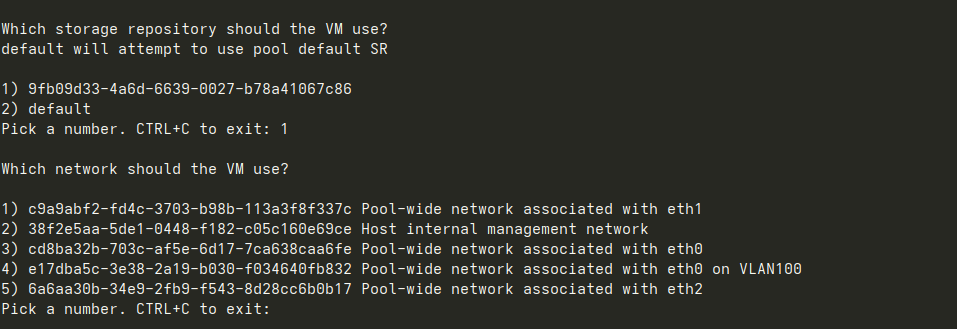
In my case, I chose 4 as that is the same physical interface as the host, with the addition of the VLAN 100 tag.
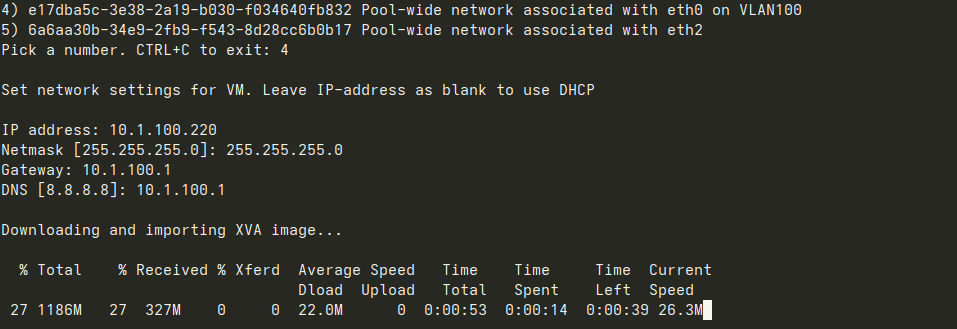
After entering IP address configuration, the download/import begins and after a few minutes the VM will be started.
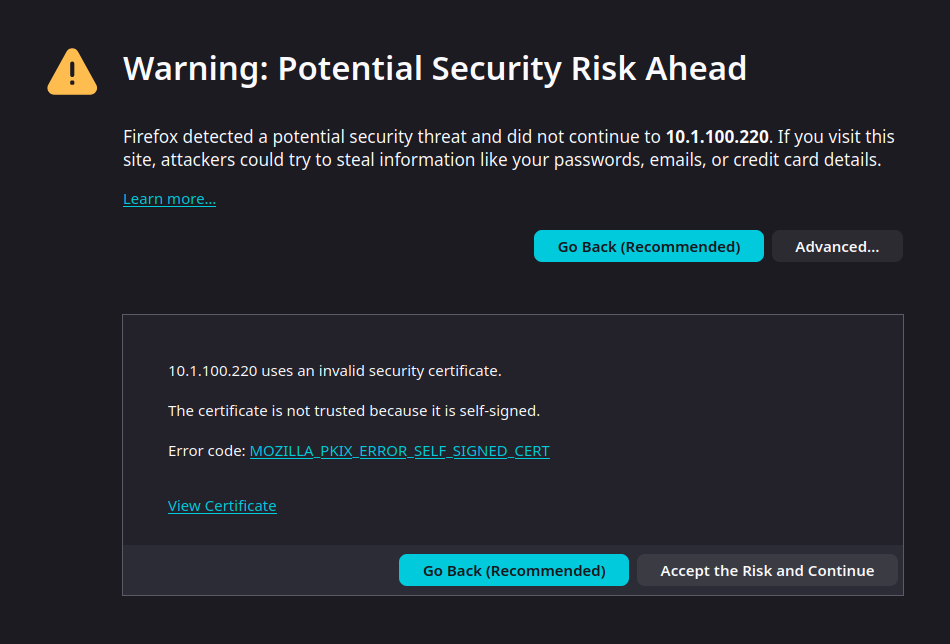
Browsing to the assigned IP address for the first time will likely present a similar screen warning about the self-signed certificate. It is safe to hit ‘Advanced’, then ‘Accept the Risk and Continue’.
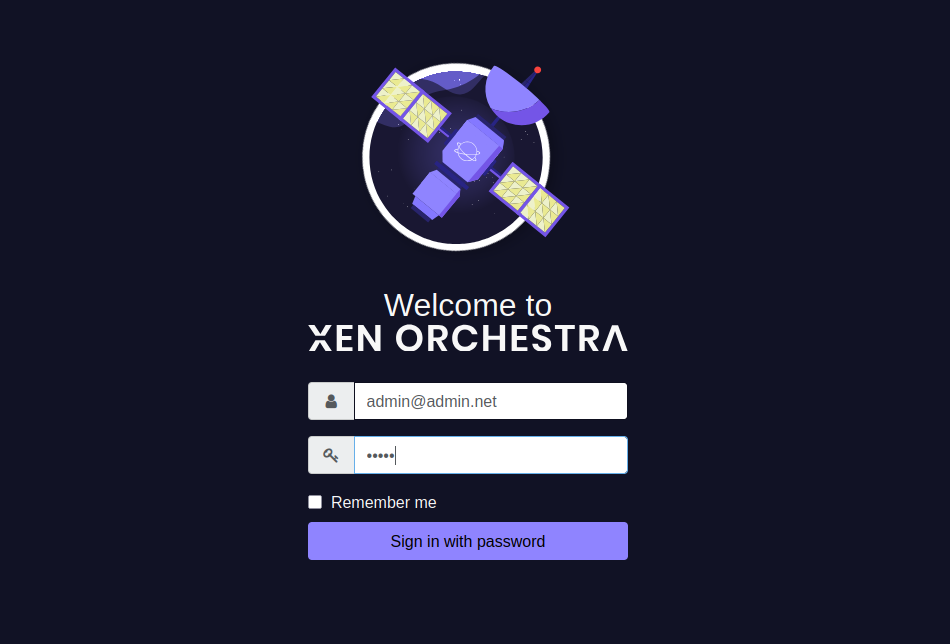
At the login screen, enter ‘[email protected]’ for the username, and ‘admin’ for the password.
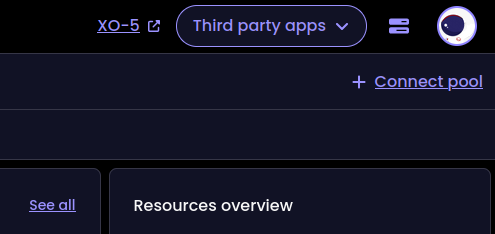
XO v6 was recently released, but is still in very active development. Despite being very pretty, many things are not yet implemented in v6 and simply link back to v5. For that reason, and because my experience is mainly with v5, the rest of this tutorial will focus there. I may come back with a follow-up on the current state of v6 soon. Click ‘XO-5’ to load v5 in a new browser tab.
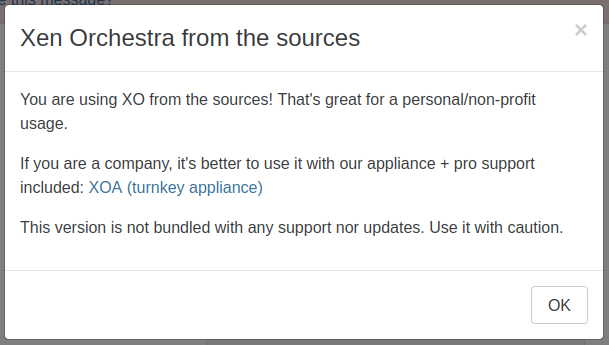
Take a moment to read the note in the popup that displays on first load. Also note the banner at the very top that, while it can be made to disappear, cannot be entirely disabled (without modifying the source code).
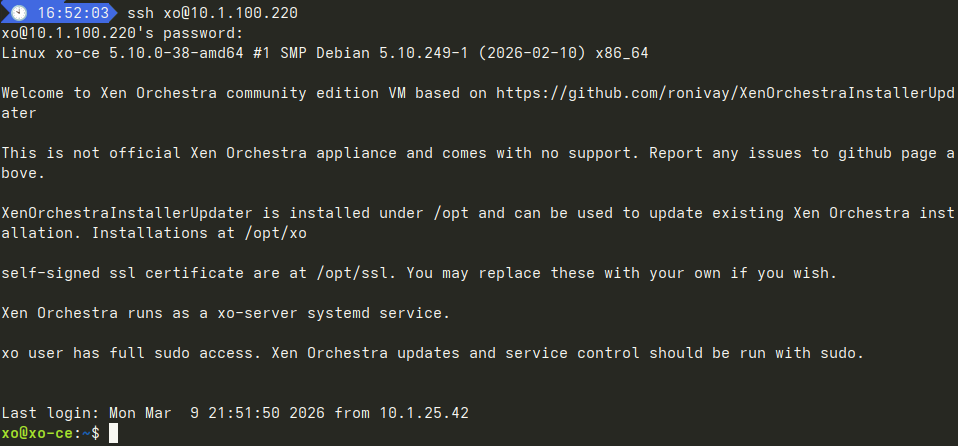
Before I go any further in the browser interface, I open an ssh connection to XO with xo / xopass. The first login prompts to change password before disconnecting. After reconnecting, I verify that updates are functional.
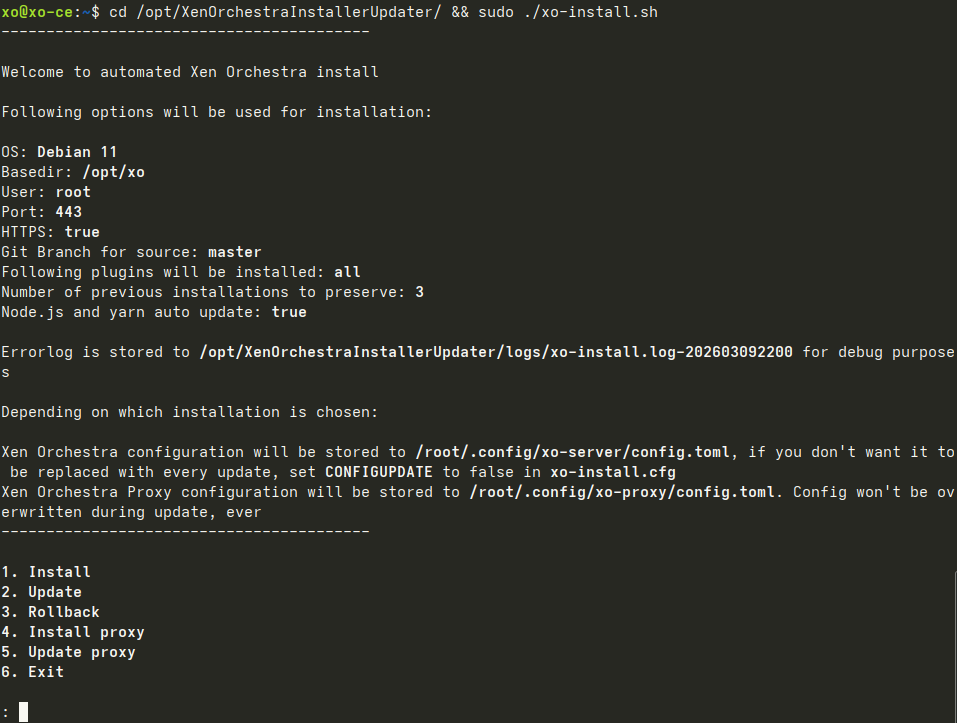
cd /opt/XenOrchestraInstallerUpdater/ && sudo ./xo-install.shEnter 2 to Update, then hit enter.
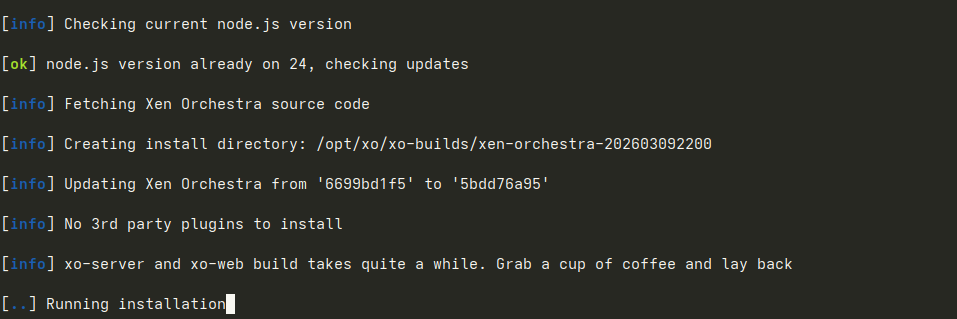
As it suggests, this part does take a few minutes.

After a few minutes, you should be dropped back to the command prompt. XO should be accessible once again in the browser.
At this point, you are ready to finish building the pool.
This was the simplest method to deploy XO from sources. The two additional methods below require just a little bit more work. If either method below is desired, I would recommend at least starting with the image deployment from above and to finish building your pool (including an ISO SR). XO-Lite (installed with XCP-ng, accessible in browser at host’s IP) can be used, but ISO SR would need to be configured at the CLI.
Before starting either method below, you will first need to Create a Debian VM.
Bonus Method #1: Installation Script
With the newly created and updated Debian VM, install git, clone the GitHub repository for the Xen Orchestra Installer / Updater, cd to the directory, and run the script.
sudo apt update && sudo apt install git
git clone https://github.com/ronivay/XenOrchestraInstallerUpdater.git
cd XenOrchestraInstallerUpdater
sudo ./xo-install.sh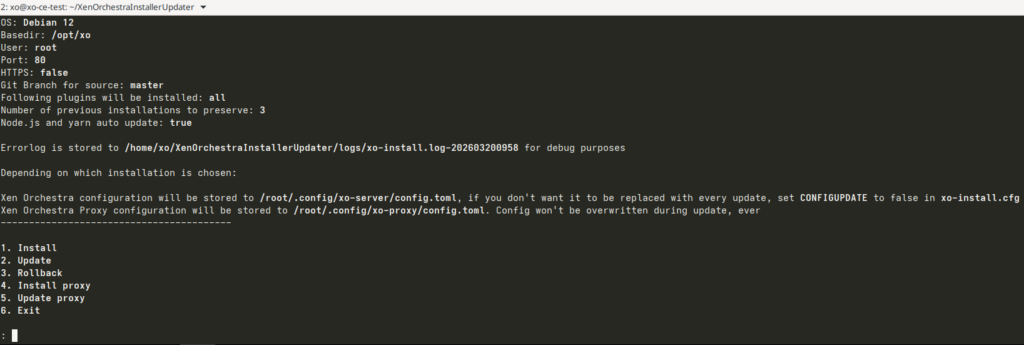
Type ‘1’ to install, the press enter.
To update, run the script again and type ‘2’ instead.
The script will proceed to install all dependencies before building and installing XO from sources. This will likely take several minutes, so now is a good time to take a quick break.
After the installation script completes, open your browser and go to the IP of the VM. Username is ‘[email protected]’ and password is ‘admin’.
Bonus Method #2: Docker Compose
If the intent is to dedicate a single VM to XO-CE, I would recommend the previous installation script method. However, this method opens up the possibility of integrating XO-CE into an existing Docker environment. Of course, XO can be resource-demanding at times, especially during backups, so this method may or may not be worth considering. But, hey, maybe you just like containerized apps and Docker. No judgment. I’m with you there. Maybe not on integrating this into an existing Docker environment, but I can at least give some idea how to get started.
I do like this method since it is fairly trivial to place behind a reverse proxy. This could be for LAN and/or WAN access, and the reverse proxy could be added to this Docker Compose stack or this stack added to an existing Docker environment with an existing reverse proxy.
Begin by installing the latest version of Docker Engine according to the official documentation.
To prevent the need to use ‘sudo’ to run Docker commands, add the ‘xo’ user to the ‘docker’ group:
sudo usermod -aG docker xoThis will not be reflected in the current session, so either logout/login or type ‘bash’ to reload the session.
This should no longer require ‘sudo’:
docker run hello-worldThis method is based on ronivay’s adjacent Docker image GitHub repository. Either the repository can clone and image built locally, or the pre-built image can be pulled from Dockerhub. For simplicity, I will be pulling the pre-built image.
Create and enter xo-ce directory:
mkdir xo-ce && cd xo-ceThe compose.yaml below is copied from the repository, with modifications noted in comments.
Create new compose.yaml file (with your preferred text editor) and pasted the below contents inside, before saving/exiting.
nano compose.yaml# version: '3' # This is obsolete. Commenting out
services:
xo-ce: # Just a small visual preference
restart: unless-stopped
image: ronivay/xen-orchestra:latest
container_name: xo-ce # Ditto
stop_grace_period: 1m
ports:
# - "80:80" # Comment out.
- "443:443" # Using SSL with self-signed certificate
environment:
# - HTTP_PORT=80 # Comment out.
- HTTPS_PORT=443 # Using SSL with self-signed certificate
#redirect takes effect only if HTTPS_PORT is defined
- REDIRECT_TO_HTTPS=true # Uncomment
#if HTTPS_PORT is defined and CERT/KEY paths are empty, a self-signed certificate will be generated
- CERT_PATH='/cert.pem' # Uncomment
- KEY_PATH='/cert.key' # Uncomment
# capabilities are needed for NFS/SMB mount
cap_add:
- SYS_ADMIN
- DAC_READ_SEARCH
# additional setting required for apparmor enabled systems. also needed for NFS mount
security_opt:
- apparmor:unconfined
volumes:
- ./xo-data:/var/lib/xo-server # Changed these to bind mounts. Personal preference.
- ./redis-data:/var/lib/redis
- ./vddk-lib:/usr/local/lib/vddk
# mount certificate files to container if HTTPS is set with cert/key paths
- ./ssl/cert.pem:/cert.pem # Uncomment and change path to within compose directory
- ./ssl/cert.key:/cert.key #
# mount your custom CA to container if host certificates are issued by it and you want XO to trust it
#- /path/to/ca.pem:/host-ca.pem
# logging
logging: &default_logging
driver: "json-file"
options:
max-size: "1M"
max-file: "2"
# these are needed for file restore. allows one backup to be mounted at once which will be umounted after some minutes if not used (prevents other backups to be mounted during that)
# add loop devices (loop1, loop2 etc) if multiple simultaneous mounts needed.
#devices:
# - "/dev/fuse:/dev/fuse"
# - "/dev/loop-control:/dev/loop-control"
# - "/dev/loop0:/dev/loop0"
# volumes: # Since bind mounts are used, these are unnecessary and can otherwise be removed
# xo-data:
# redis-data:
# vddk-lib:Save/exit and start the service with:
docker compose up -dOpen your browser and go to the IP of the VM. Username is ‘[email protected]’ and password is ‘admin’.
With XO-CE deployed, it is now time to finish building the pool.