Keeping XCP-ng hosts up-to-date is important to ensure the latest hardware compatibility and to patch security vulnerabilities. There are a few ways to update, whether from the pool level, host level, or command line.
IMPORTANT: When updating hosts, always reboot the pool master first. Also, installing updates and waiting to reboot is generally not recommended.
Updating at the Pool Level
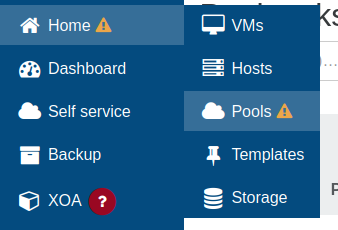
As mentioned previously in Finish Building Pool, the yellow caution triangle next to Home > Pools indicates that there are hosts with missing patches. Click on ‘Pools’.
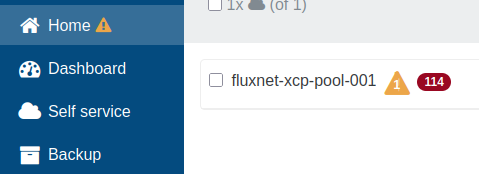
The red indicator here with ‘114’ here shows that there are that many patches remaining on each of these hosts, since they are clean installs of XCP-ng 8.3. Click on the pool name, then go to the ‘Patches’ tab.
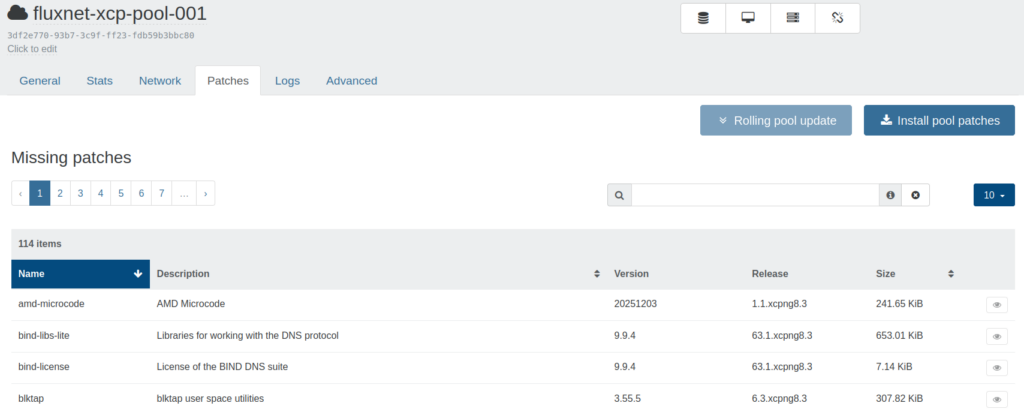
This page will list each package to be updated, and provide two options to update:
Rolling pool update (Also referred to as RPU):
- Requires all VMs to be on shared storage (Option is currently blocked because XO is on local storage)
- Instructs each host to execute ‘yum update’
- Evacuates all VMs from the pool master
- Reboot pool master
- When pool master is back online, the process repeats until all hosts are rebooted and back online
Install pool patches:
- Instructs each host to execute ‘yum update’
- Reboots need to be done manually.
Since I do not have shared storage set up yet, I will skip updating from this page and instead show how to update at the Host level.
Updating at the Host Level
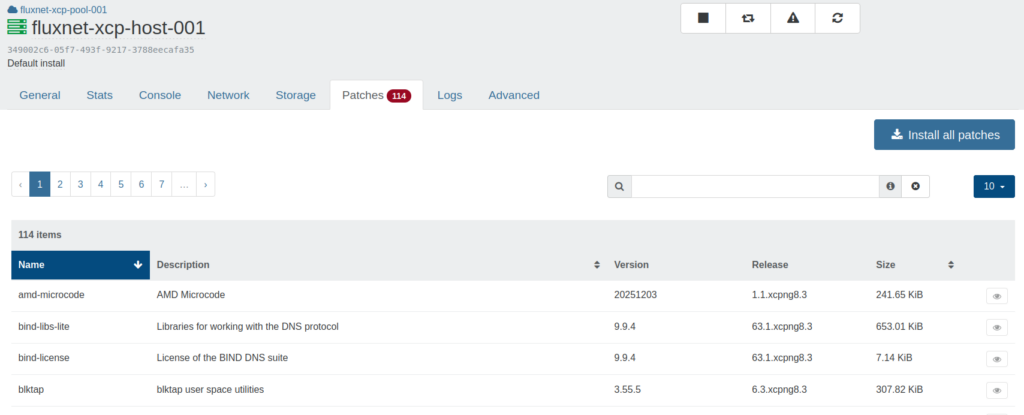
Go to Home > Hosts, then select a host. In this case, I am starting with the pool master. This view is very similar to the one at the Pool level, but this only affects this one host. Similarly, ‘Install all patches’ will execute ‘yum update’ on this one host, and the reboot will need to be done manually.
Instead of updating here…
Updating at the Command Line
At a terminal, do:
ssh root@<host ip>Enter the password, then enter.
Quick note: When hosts are joined to a pool, their root account’s password is reset to match that of the root account of the pool master. If you use the same root password on each host, this would not be noticeable. However, it would be noticeable right way with different root passwords.
Then do:
yum update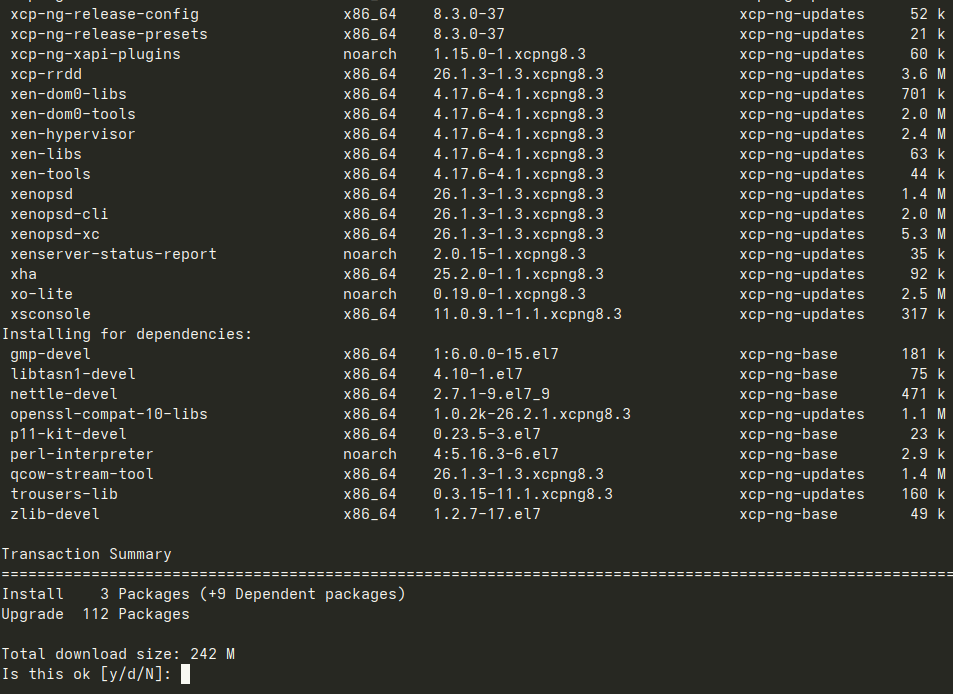
Press ‘y’, then enter. Since ‘N’ is default, pressing enter without explicitly specifying ‘y’ will simply return you to the command prompt.
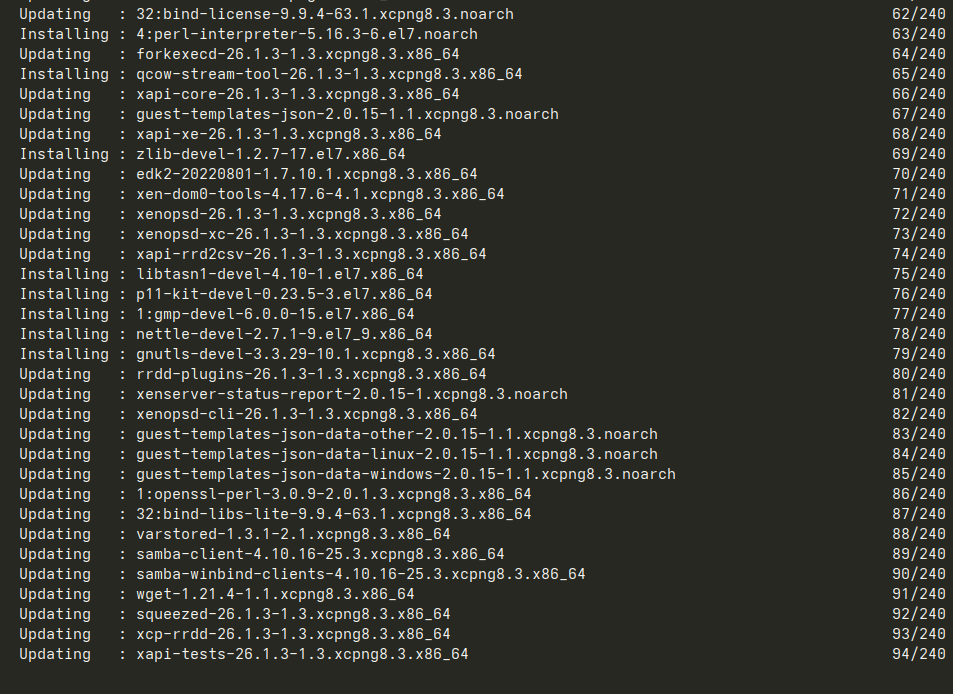
Yum will proceed to roll through the updates before dropping back to the command line.
Repeat these steps with each remaining host.
Rebooting Hosts
As mentioned above, always start with the pool master. However, just before that…
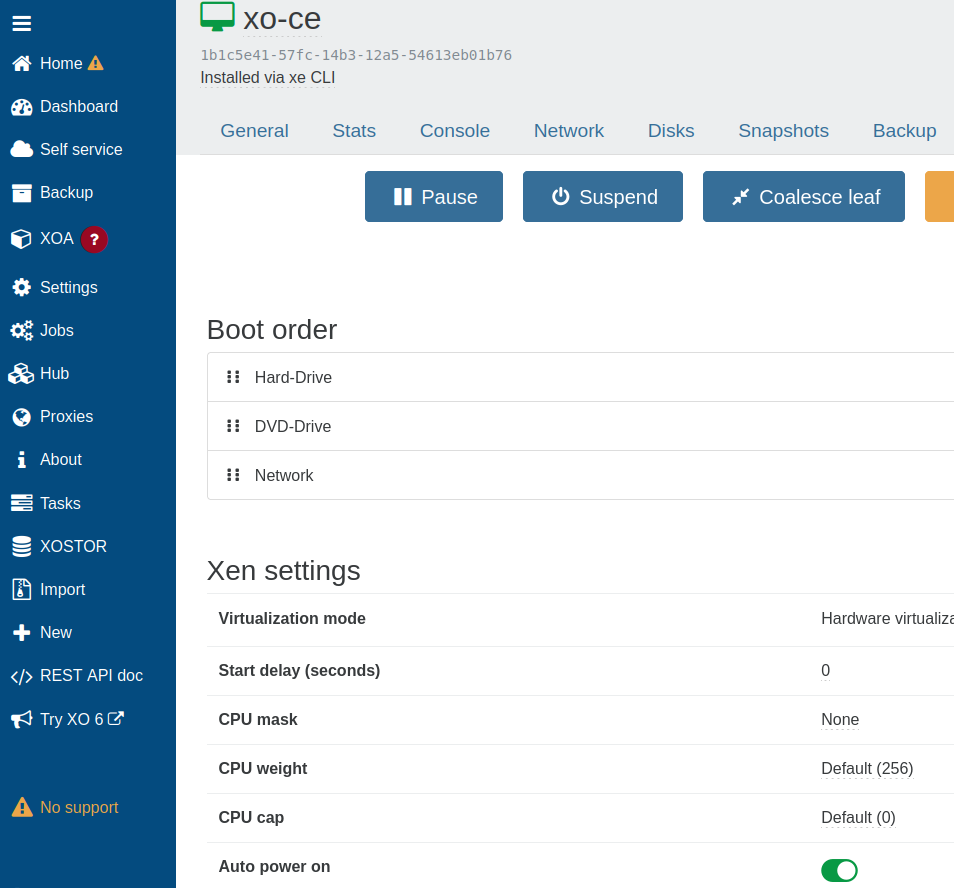
Go back to XO, then either ‘Home’ or Home >VMs, then go to the ‘Advanced’ tab. Be sure to toggle on ‘Auto power on’ to make sure the XO VM starts after the host is rebooted.
Next, since XO-CE exists on local storage, it must be shut down before rebooting the hosts. Sure, the hosts could be rebooted without shutting down XO-CE and it would probably be okay, but let’s do it cleanly here.
ssh xo@<xo-ce IP>

sudo shutdown -h now
From here, go back to the terminal window of the pool master and do:
rebootGo ahead and start a ping to that IP, as well as the XO-CE IP, to watch for them to come back. Once XO-CE is back, repeat the reboots with the remaining hosts. These can be done simultaneously here, no need to stagger them.
With the core environment built, it is now time to create backup jobs to keep the VMs safe.