In this section, I will be creating a Debian VM to use with the bonus methods of deploying XO-CE. Since the processes involved are relevant to creating any VM, I felt this deserved its own section instead of being buried inside the XO-CE deployment section.
If you have not already created an ISO SR, please do so before continuing here as it will be absolutely necessary.
Since XOA is built on Debian 12.13, I will use that as the guest OS for the VM. Debian 12.13 can be downloaded here. I am using the smaller ‘debian-12.13.0-amd64-netinst.iso‘, but the larger ‘dvd-iso’ found in the parent directory will work just fine. Place this in the ISO directory and ‘Rescan all disks’ to ensure it is present. (Home > Storage, choose the ISO SR, Disks tab, ‘Rescan all disks’ button a top-right.)
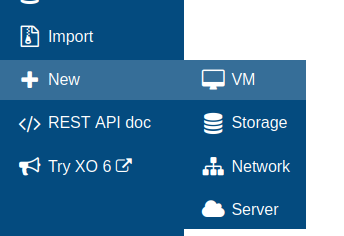
Near the bottom on the left side, go to New > VM.
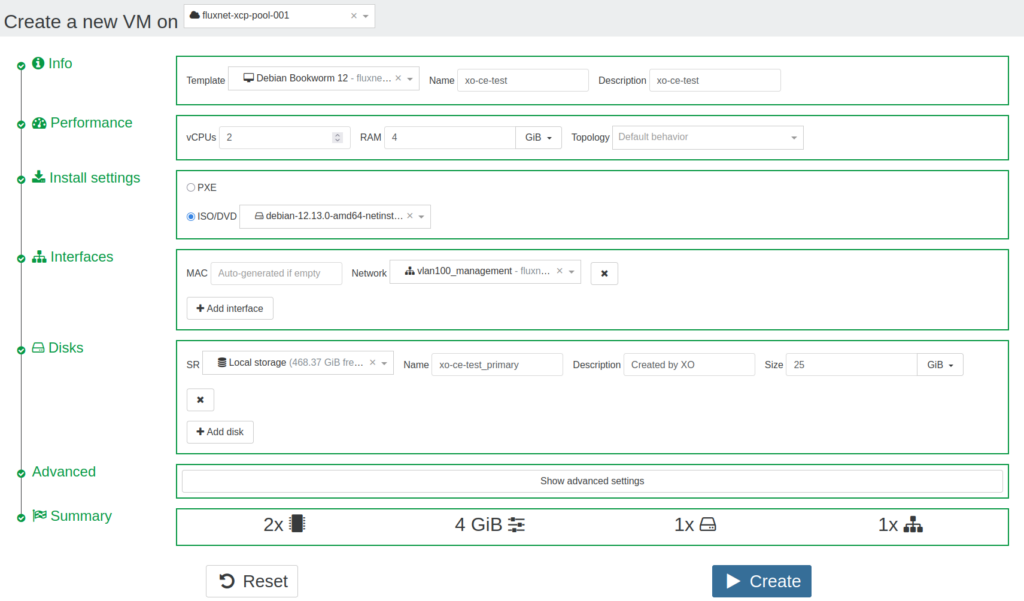
Initially, this page will be mostly blank. Click the drop-down menu at the top to select the appropriate pool and the rest of the page shown here will appear.
- Template – These are lightweight configuration parameters tuned for that guest OS. Try to get as close as possible since exactness may not always be necessary.
- Name – Create a name.
- Description – Set a description.
- Install settings – PXE or ISO/DVD. In this case, choose ISO/DVD and then the Debian ISO in the drop-down menu.
- MAC – Leave this alone to auto-generate a MAC address for this VIF.
- Network – Choose which network to assign this VIF.
- Disks –
- SR – Choose the SR for this disk
- Name – Create a name.
- Description – Set a description.
- Size – The deployable image of xo-ce is 10GB, but I like to choose 25GB for a little more breathing room.
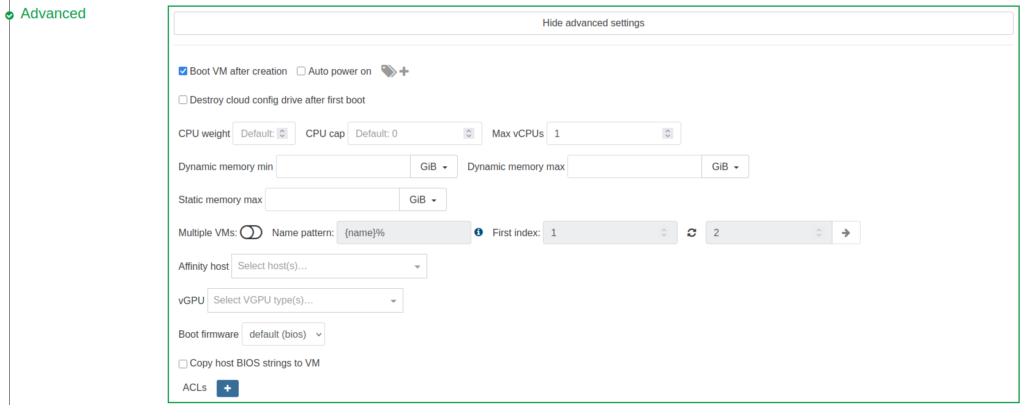
Click ‘Show advanced settings’ to see the available options here. Change boot firmware from ‘uefi’ to ‘bios’.
Click ‘Create’.
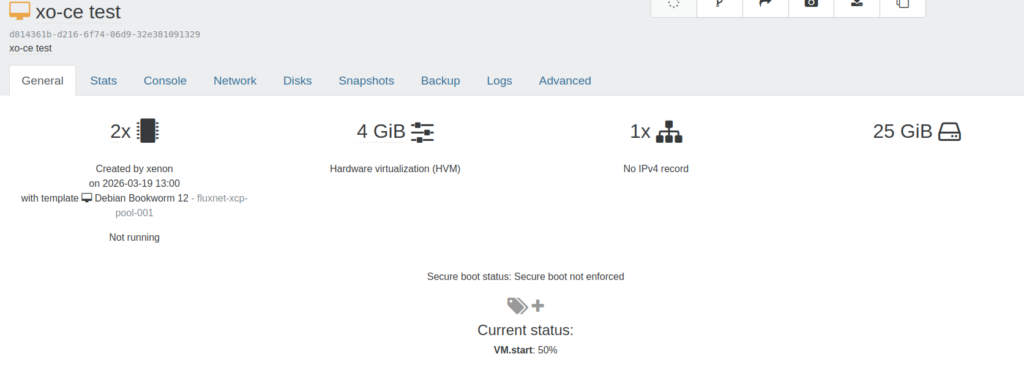
The VM should begin booting. Click the ‘Console’ tab to watch the progress.

If this screen is displayed, it is very likely that the boot firmware changed to ‘uefi’ instead of ‘bios’. Go to the ‘Advanced’ tab and click the ‘Force shutdown’ button, then ‘OK’ on the warning. Scroll down below and change ‘uefi’ to ‘bios’. Click the ‘Start’ button at the top.
Install Debian
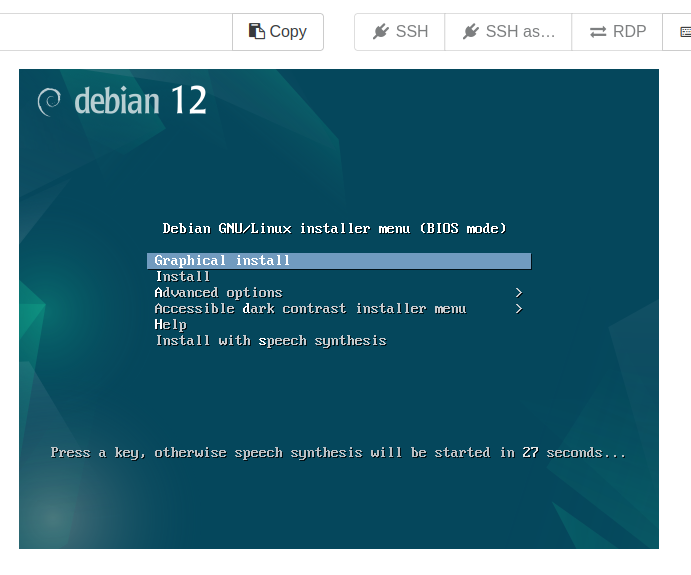
The Debian installer menu should be displayed shortly. Press enter.

Choose language and click ‘Continue’.
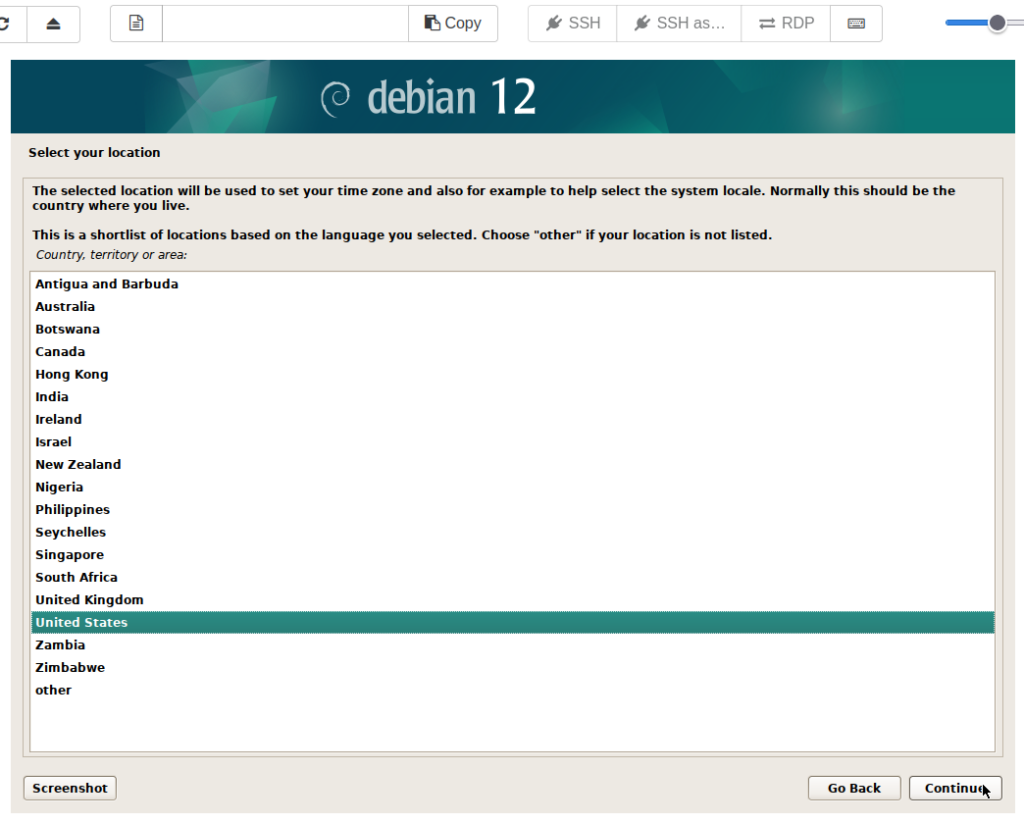
Select location and click ‘Continue’.
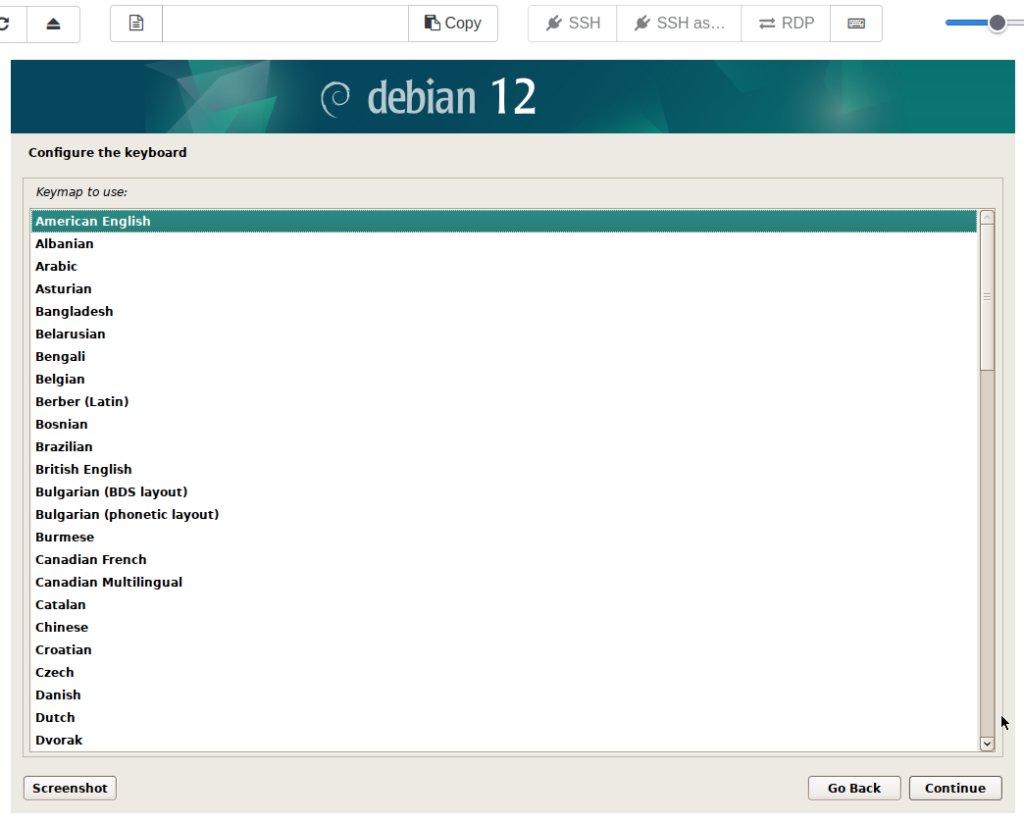
Choose keymap and click ‘Continue’.
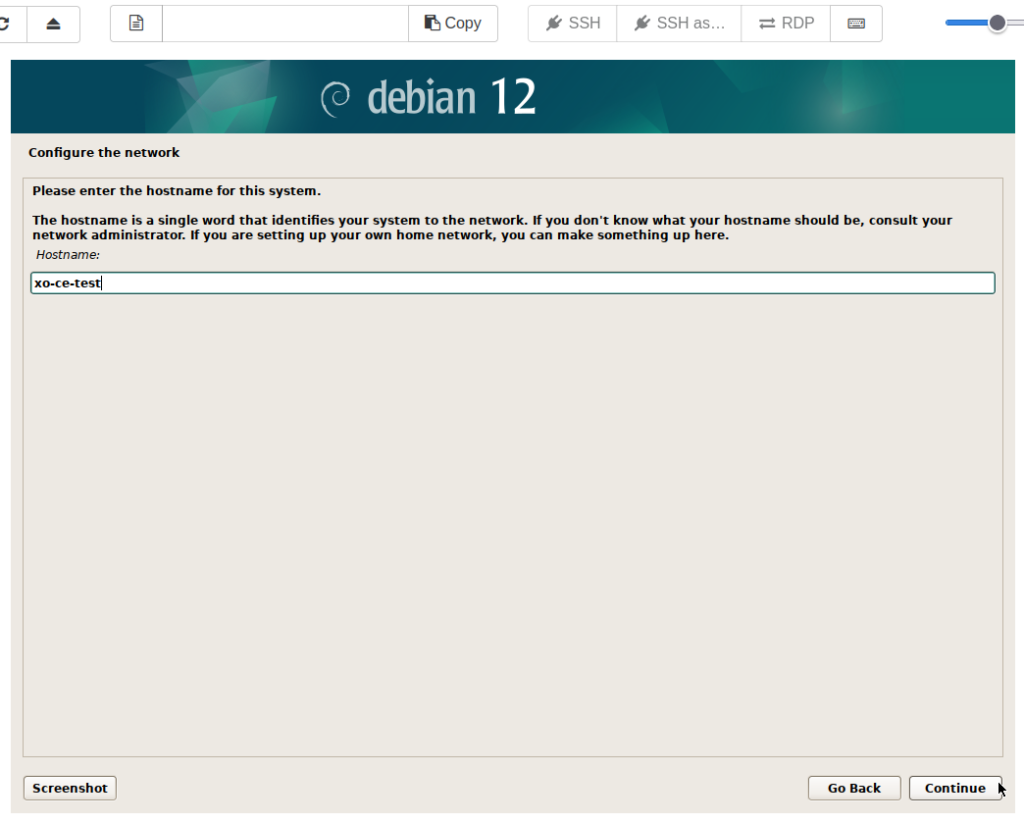
Enter hostname and click ‘Continue’.
Quick Note: The console window will not accept keyboard input unless the mouse cursor is inside.
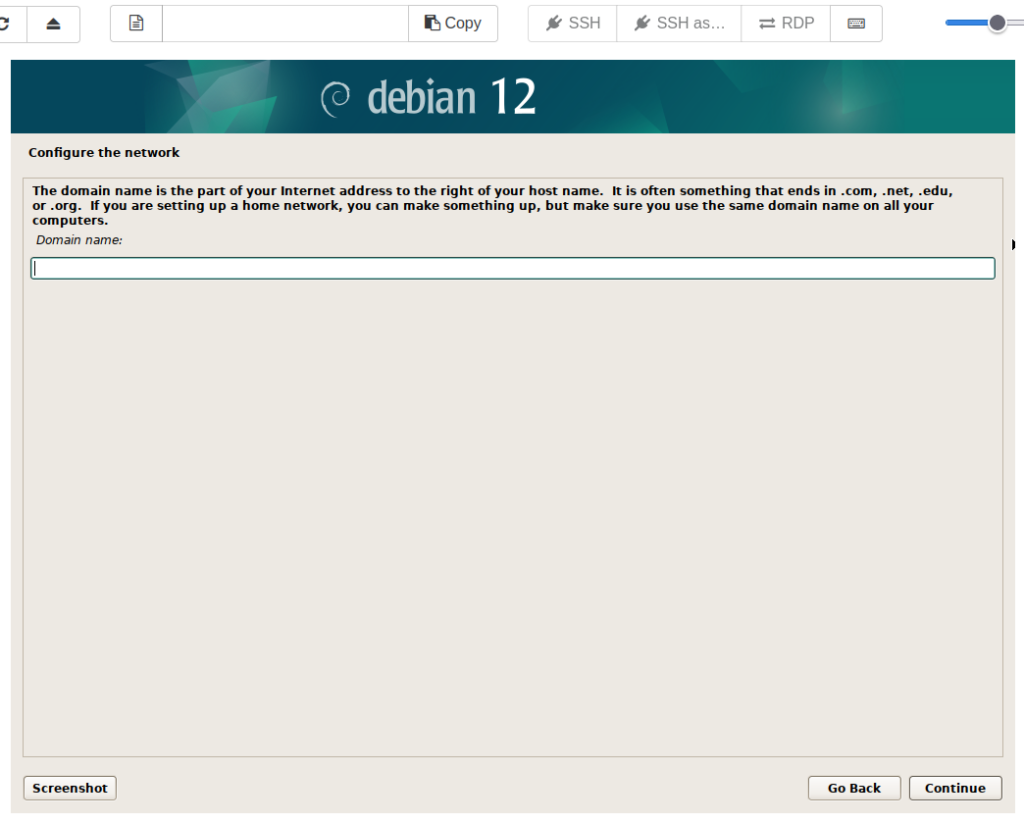
Enter domain name, if necessary. I will leave this blank. Click ‘Continue’.

Leave the password here blank. The root account will be disabled, sudo will be installed, and the initial user will be added to the sudoers group. Click ‘Continue’.
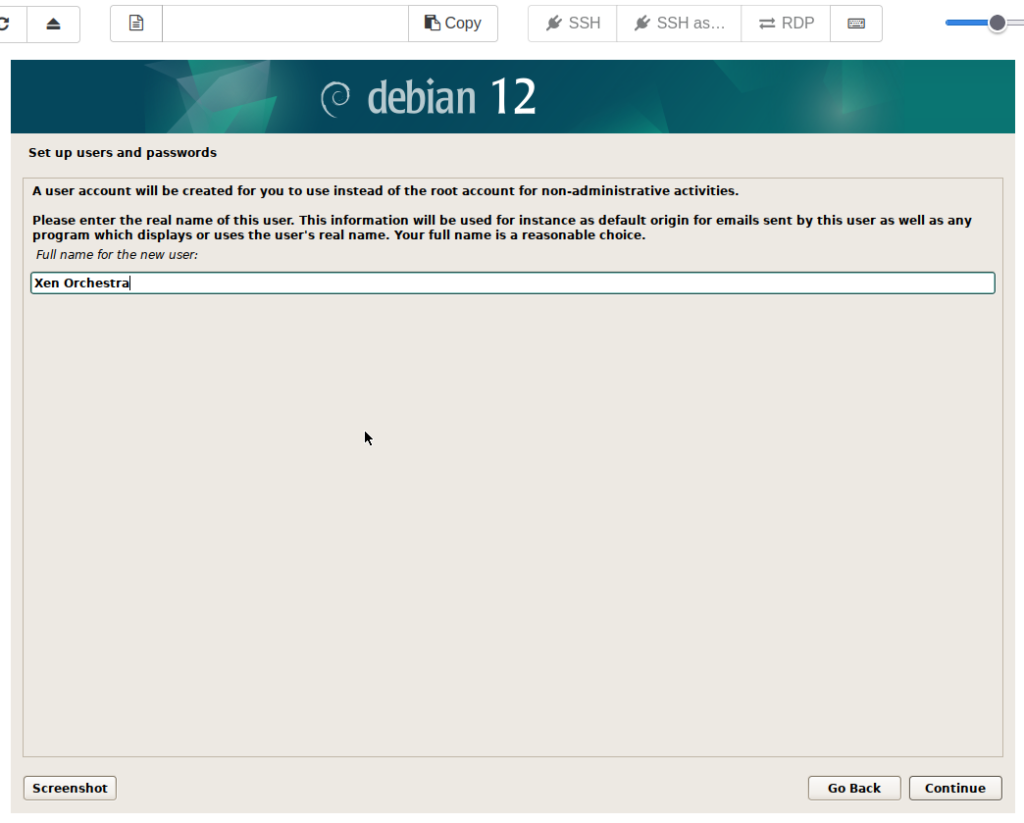
It is time to create a non-root user account. First, enter the full name of the new user. Username will be entered in the next step. Click ‘Continue’.
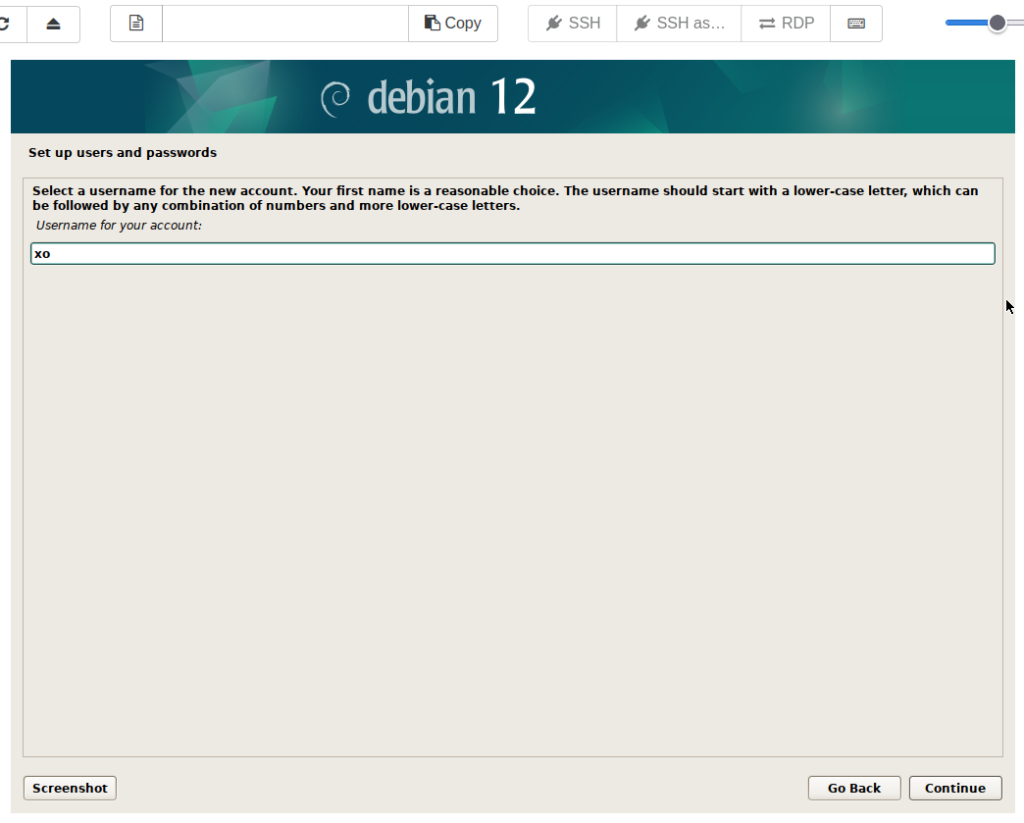
Create the username of the non-root user. Click ‘Continue’.
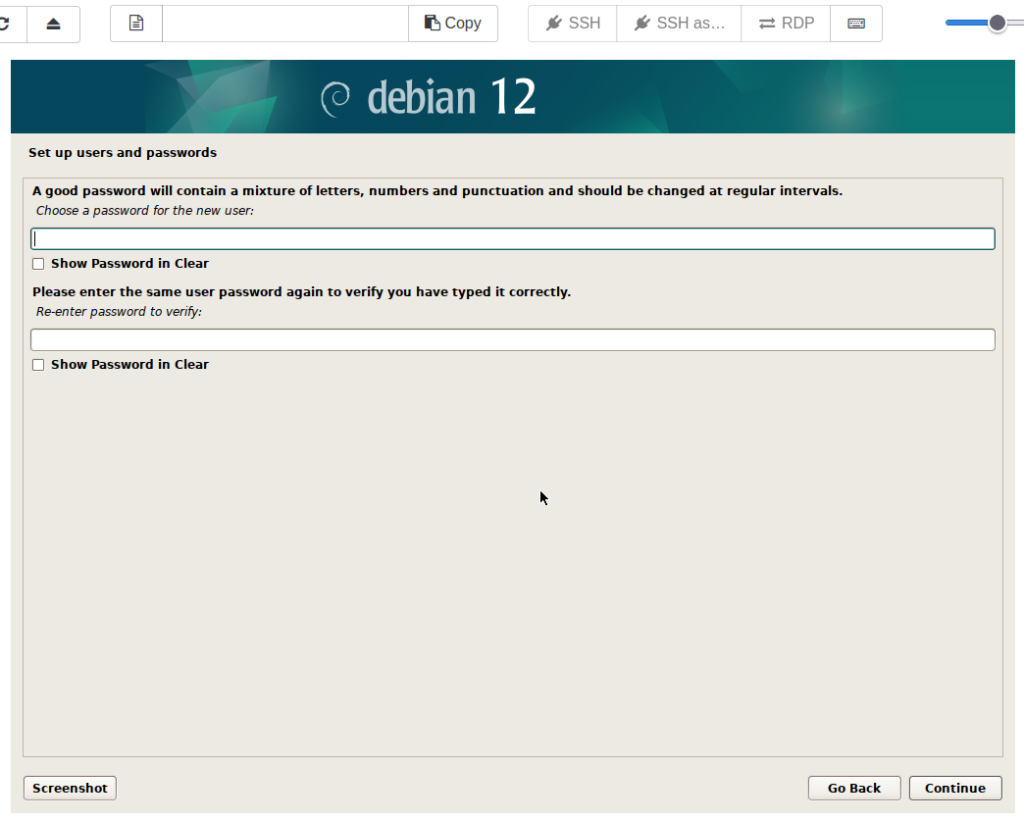
Create and re-enter the password for the non-root user. Click ‘Continue’.
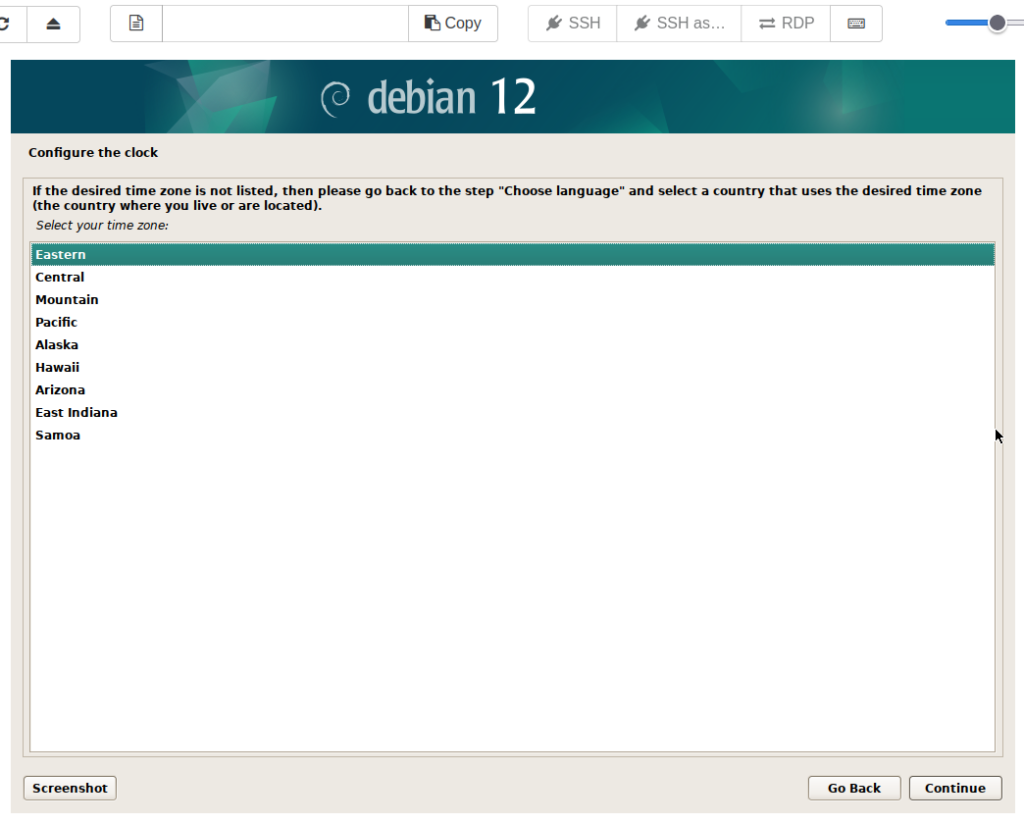
Choose time zone. (Options here are based on previous selections of language and location) Click ‘Continue’.
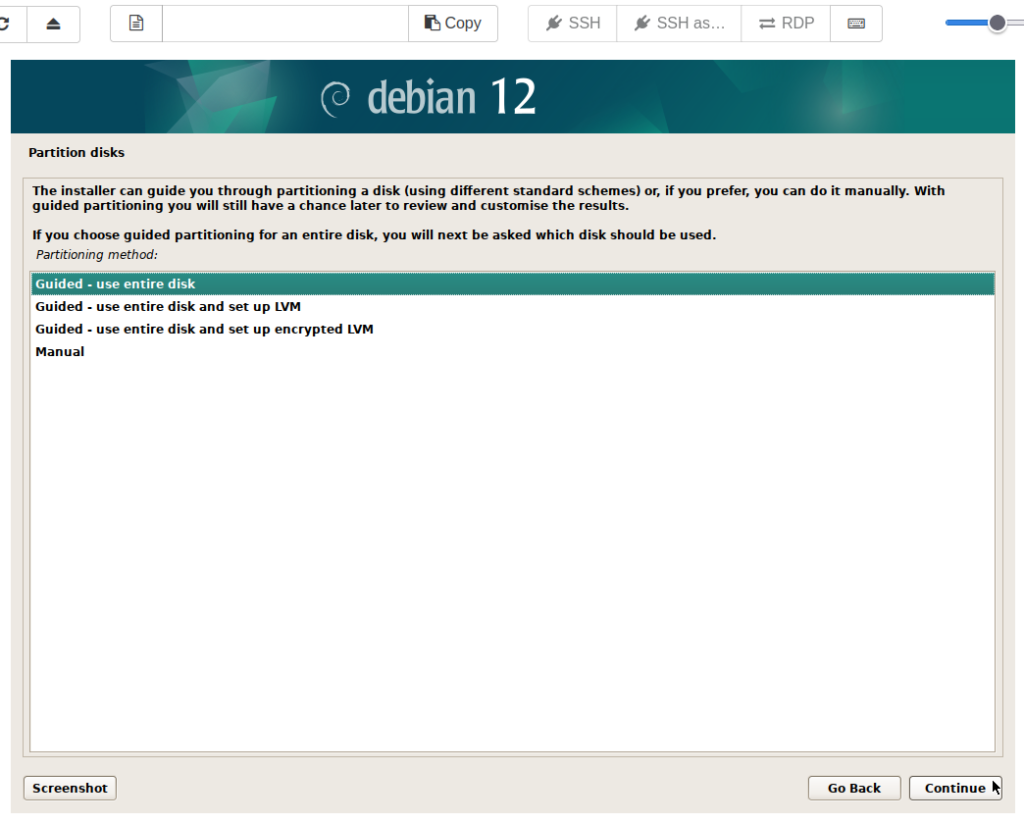
This is left at default as there is no need to modify partitioning or use LVM. Click ‘Continue’.
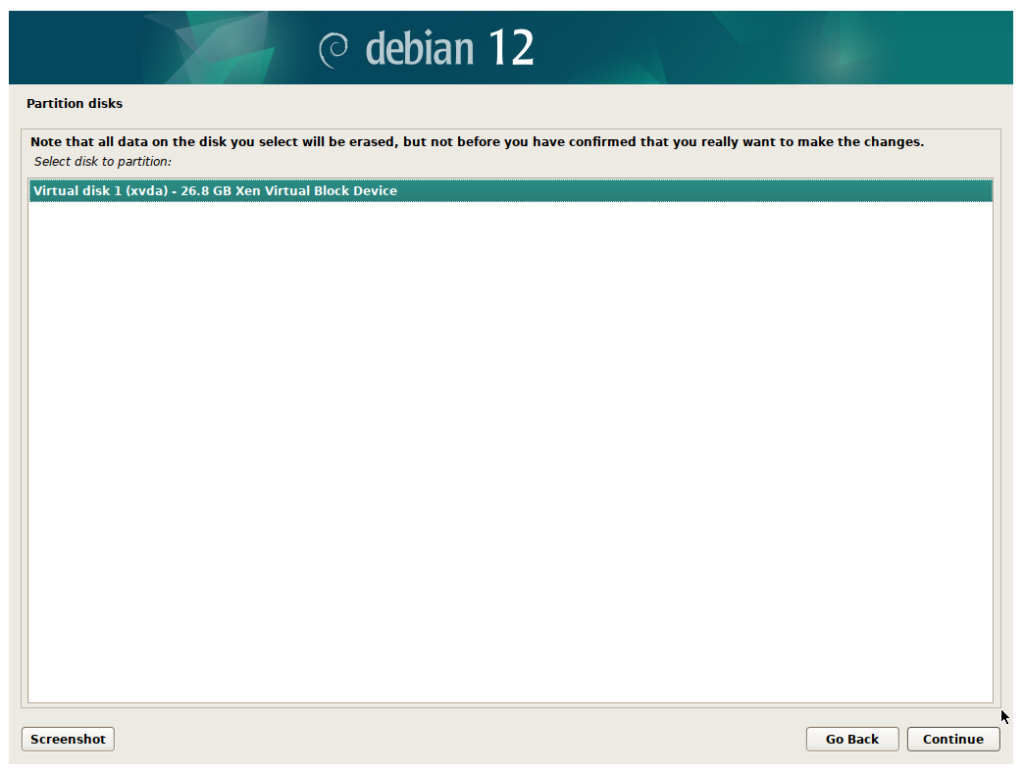
This is warning that the virtual disk will be erased. Click ‘Continue’.
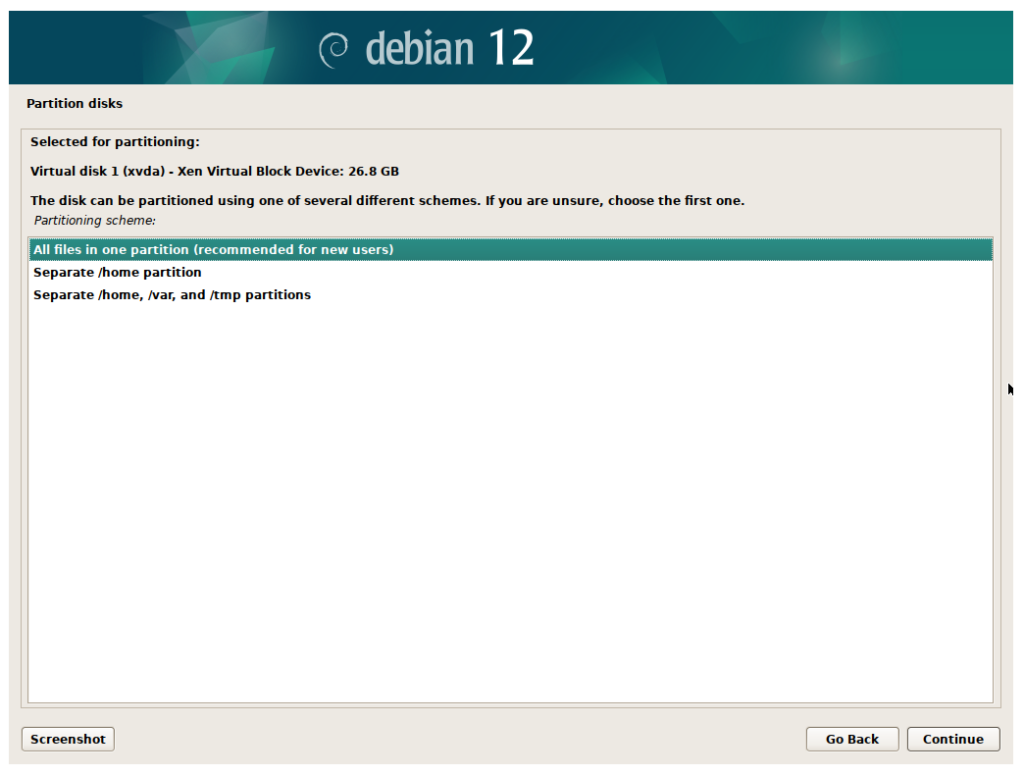
Leave this one as default. Click ‘Continue’.
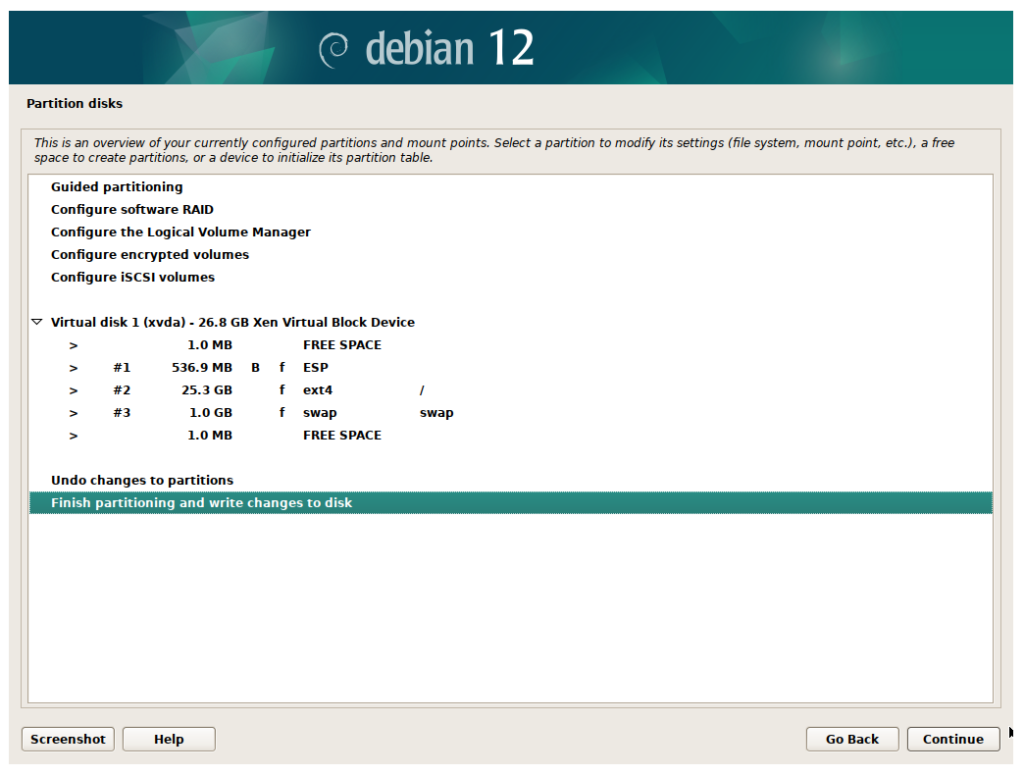
Same thing here. Click ‘Continue’.
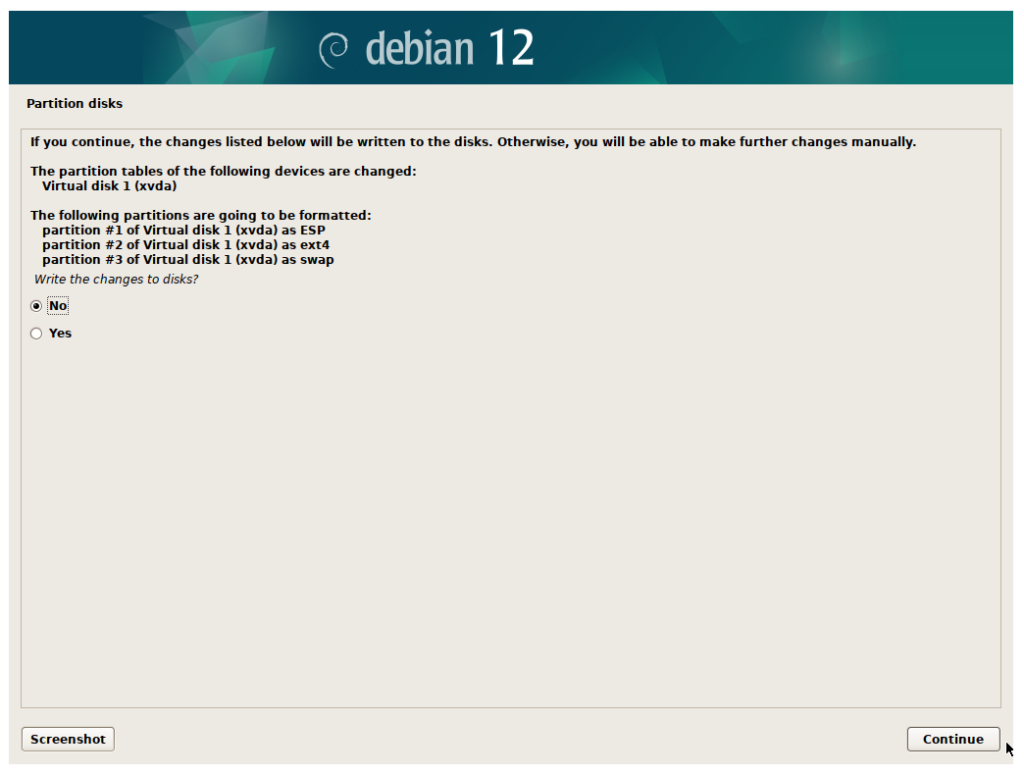
Select ‘Yes’ to write the changes to the disk. Click ‘Continue’.
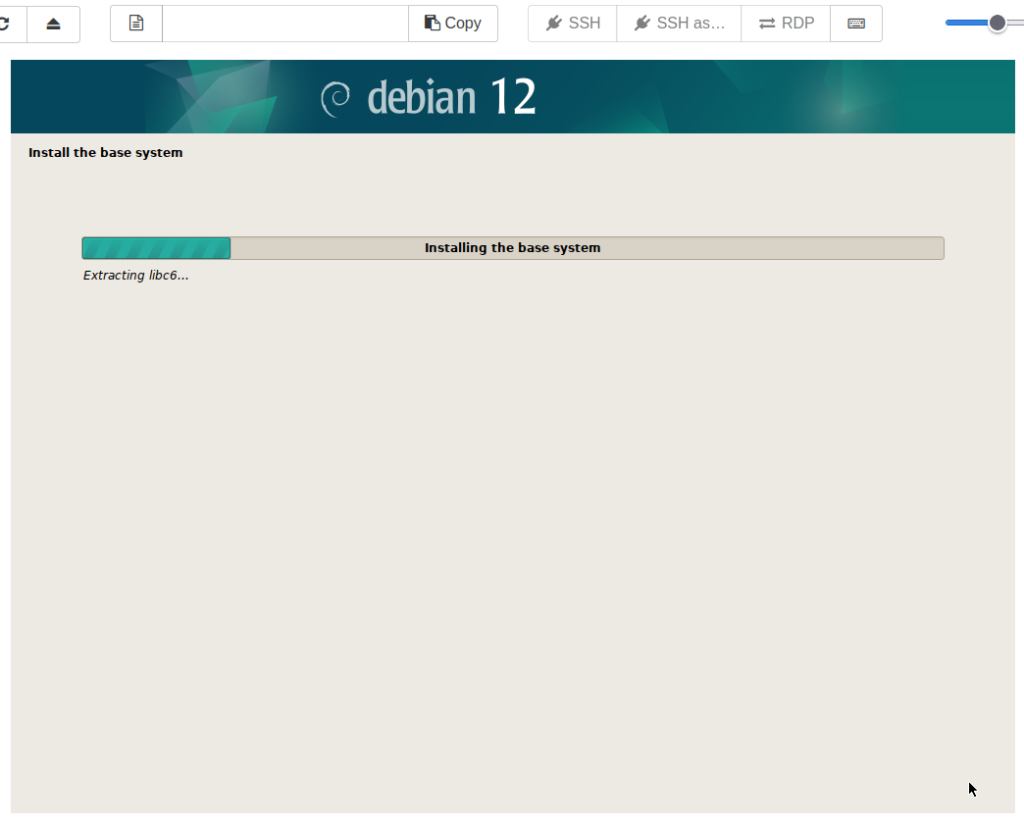
Installation will begin, and should be fairly quick since this is a netinstall image.

Leave the selection as ‘No’ as there is no need to scan more media. Click ‘Continue’.
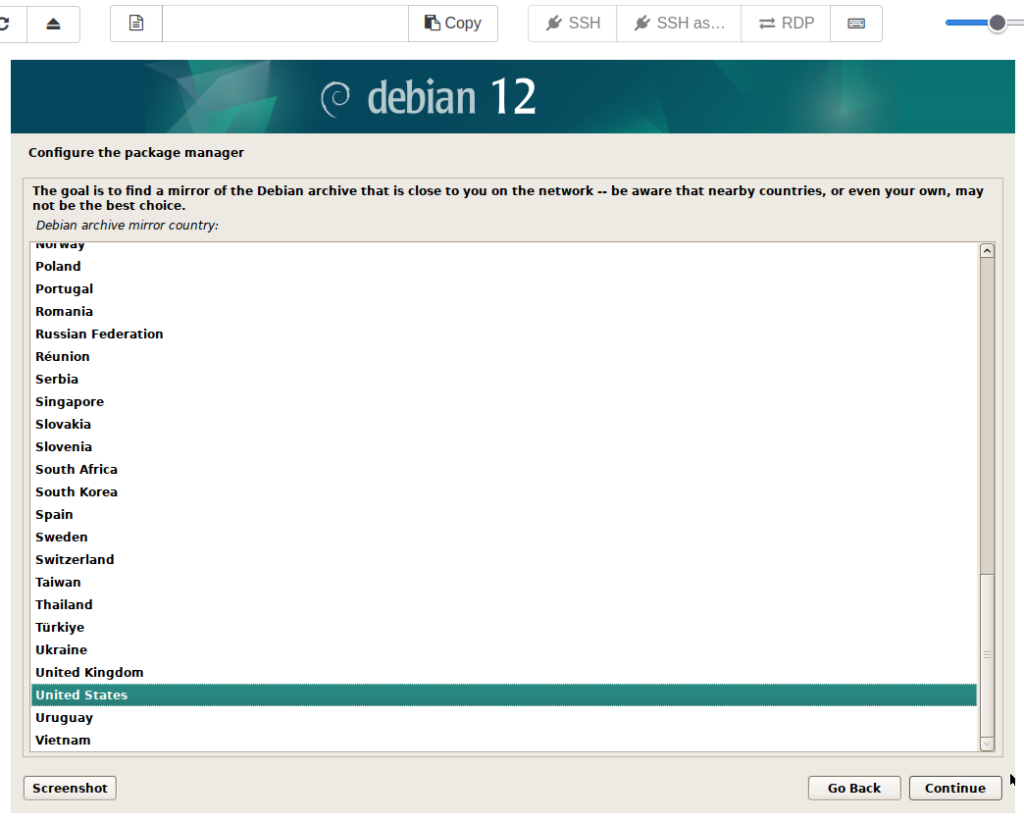
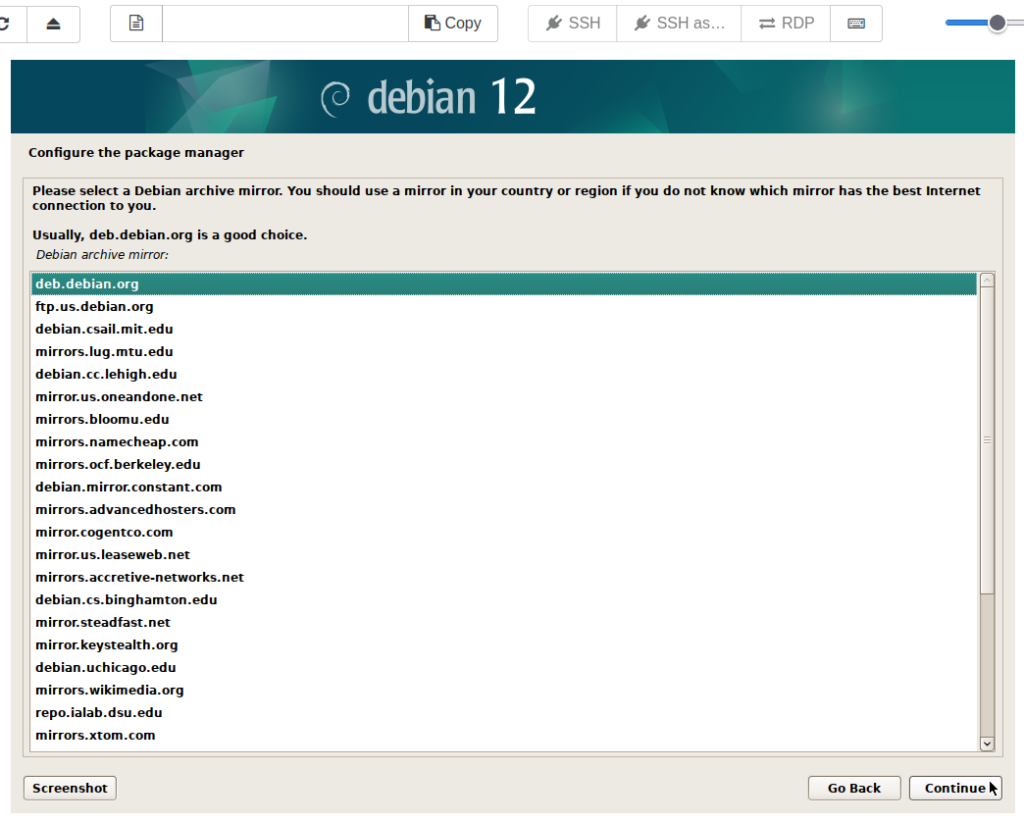
Choose your location once again, this time to find the best mirror for the package manager. Click ‘Continue’.
I will leave this one as default, but any one of these should work. Click ‘Continue’.
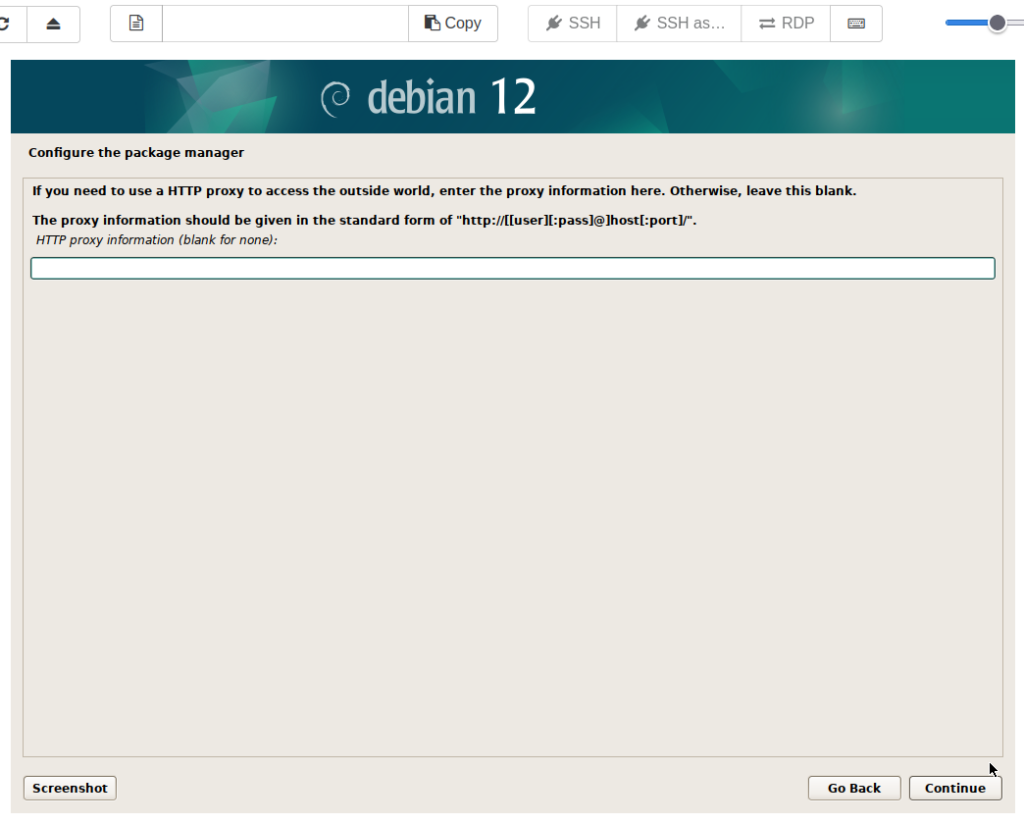
Any HTTP proxy information can be entered here. Click ‘Continue’.
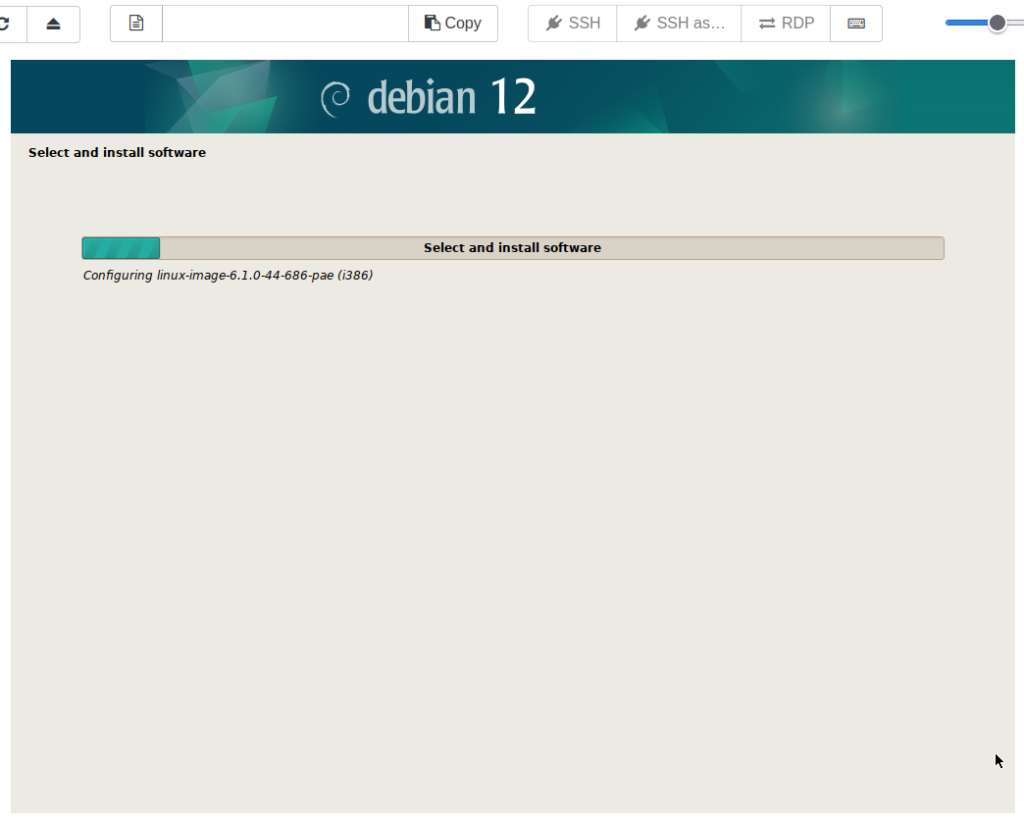
This should be fairly brief on this netinstall image.
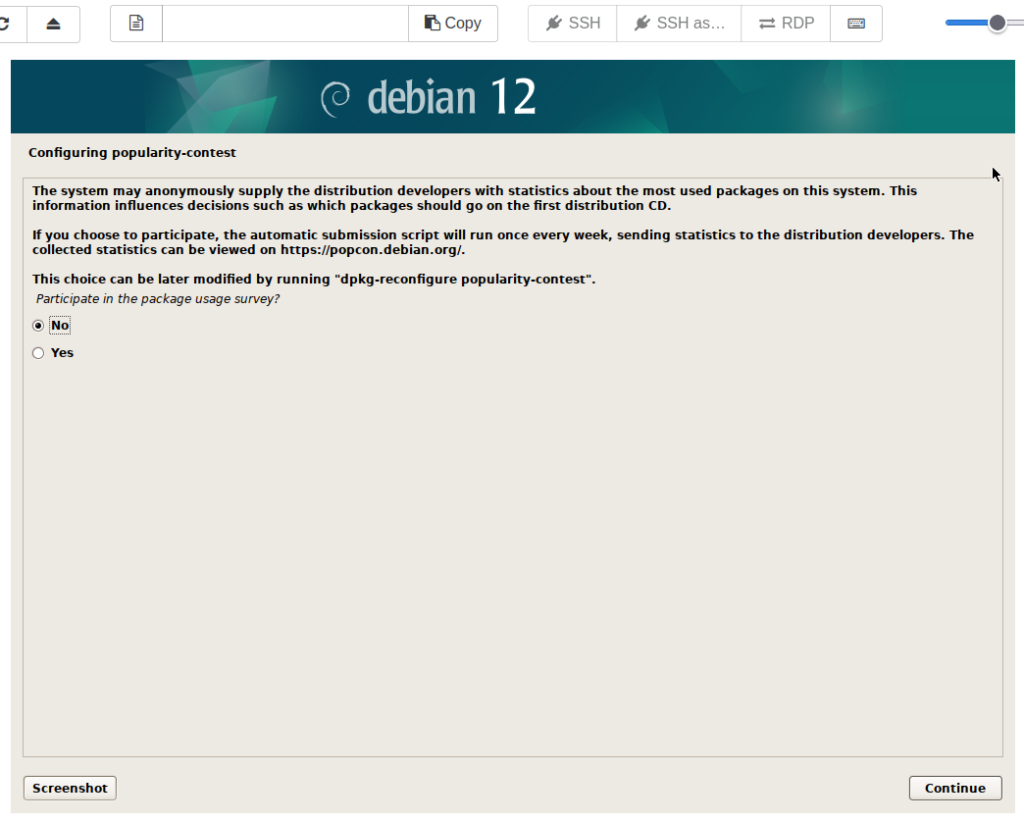
Choose ‘Yes’ if you would like to opt-in to the anonymous package usage survey. Click ‘Continue’.
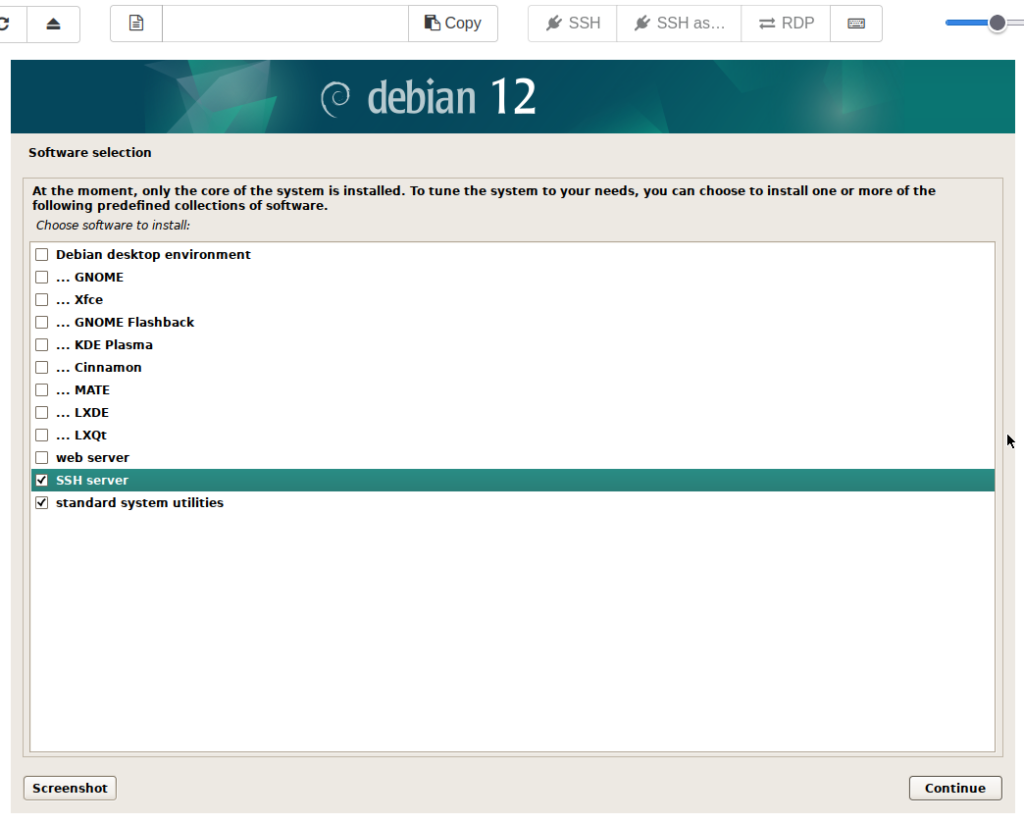
Deselect all desktop environments, and ensure ‘SSH server’ is selected. Click ‘Continue’.
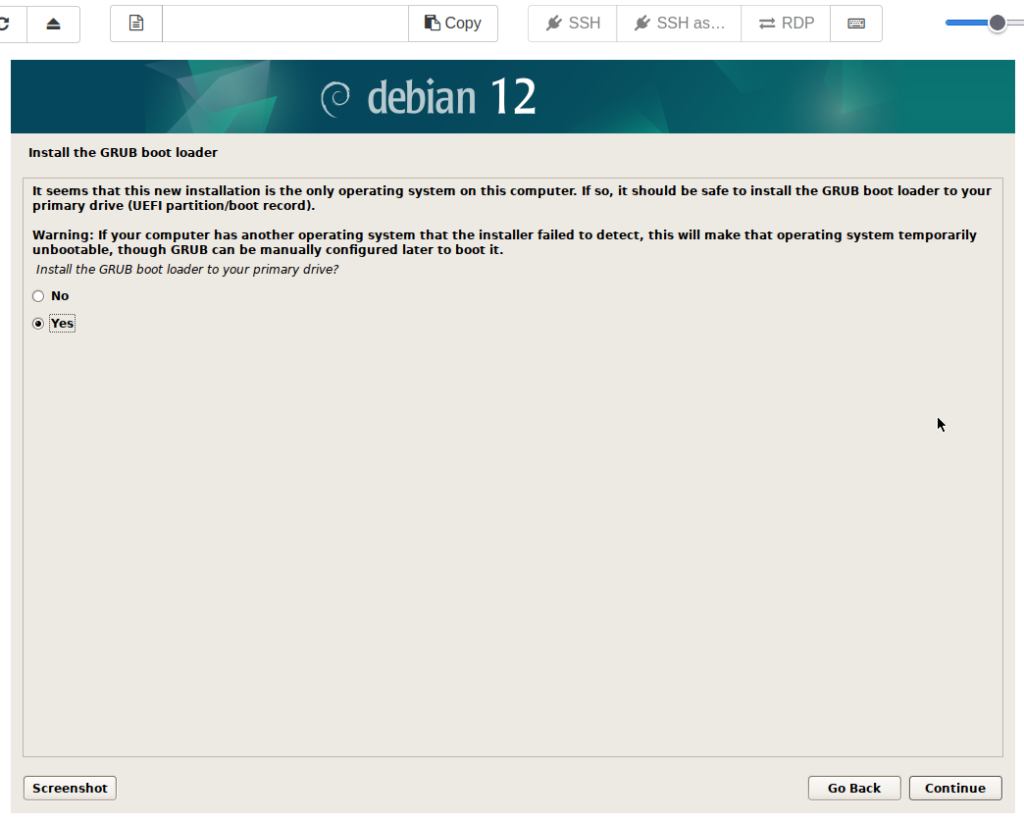
Leave selection as ‘Yes’ to install GRUB boot loader. Click ‘Continue’.
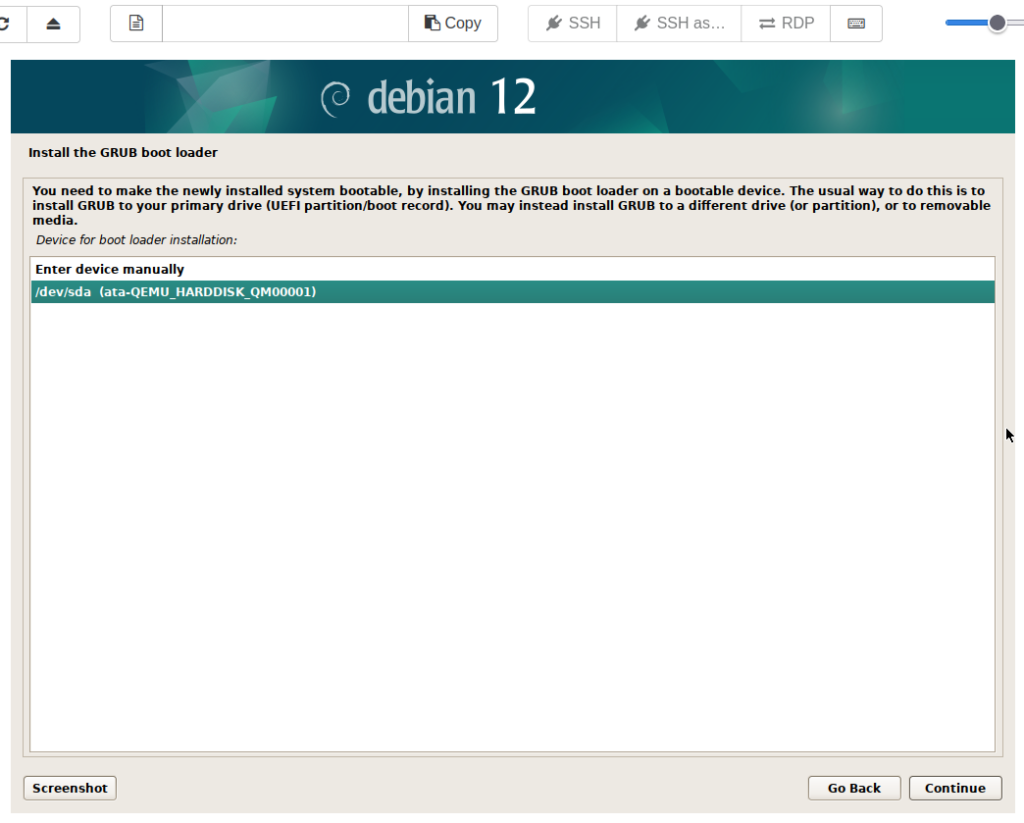
Select the correct disk for the boot loader. Click ‘Continue’.

Make sure to click the eject or ⏏️ button to the right of the debian ISO as is displayed in the top left of this image. ‘Select disk(s)’ should be displayed. Click ‘Continue’.
The VM should reboot, and a login prompt should be presented a few moments later.
Install Guest Tools
The guest tools are very important to install on any VM running on top of XCP-ng. They provide kernel drivers and a management agent enabling more efficient communication between the guest VM (DomU) and Dom0. This includes network, storage, etc. More information on the guest tools can be found in the official documentation here.
Quick Note: At least a few will likely be curious, but this tutorial will not be covering Windows VMs. Most of the information here will still be relevant, though. This may be covered in a future tutorial.
Installing the guest tools is fairly simple as an ISO is already provided.
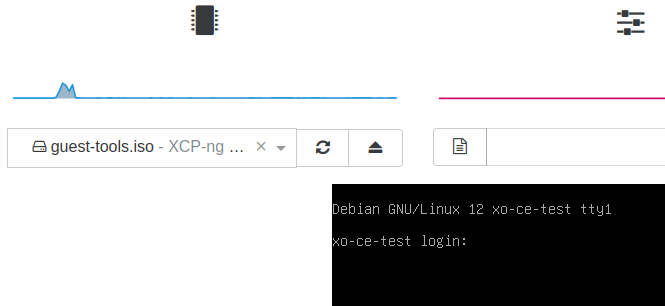
In the same drop-down menu that was used a moment a go, scroll to the bottom and select ‘guest-tools.iso’.
Go ahead and login with the non-root username and password that was create during installation.
sudo mkdir -p /mnt/cdrom
sudo mount /dev/cdrom /mnt/cdrom
cd /mnt/cdrom
sudo ./install.sh
Press ‘y’ to continue the install.
sudo rebootThe guest tools ISO can now be ejected.
Networking
Debian may have received an IP from DHCP, but I change that to static. It also has only one network interface, or VIF. This is fine for most things, but I also want to give it a VIF on the storage VLAN with 10GbE links for XO to perform backups. If this does not apply to your environment, disregard this step.
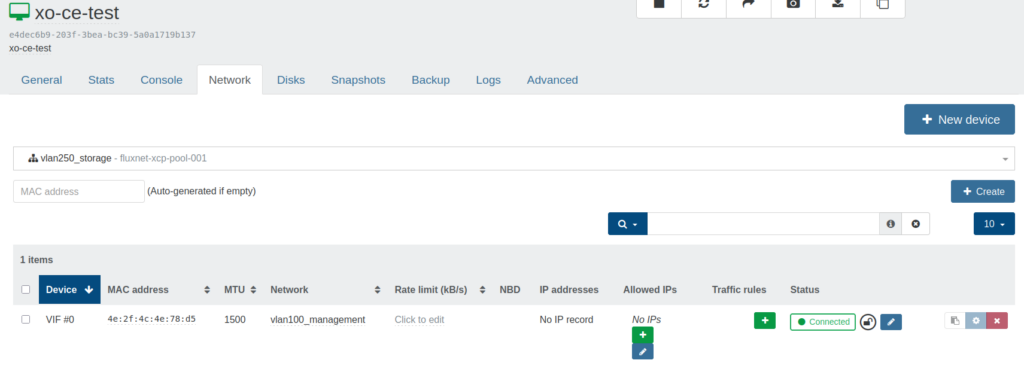
Go to ‘Home’ > ‘VMs’, then click the ‘Network’ tab. Click the ‘New device’ button on the right, then select the storage network in the new drop-down menu. Leave the MAC address field empty for it to be auto-generated. Click ‘Create’.
Go back to the console tab and do:
ip a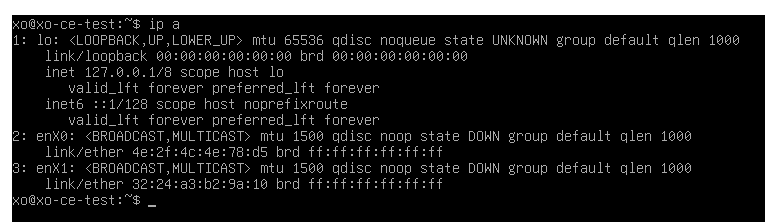
This will show the network devices and their current state. Here, I have ‘enX0’ and ‘enX1’.
sudo nano /etc/network/interfaces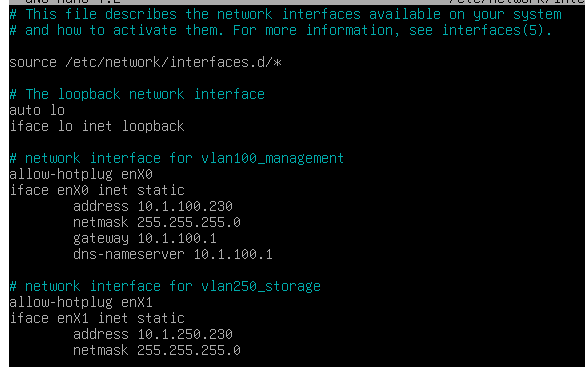
Edit the file to resemble the image, ignoring the second device if it is not needed. CTRL+X to exit. ‘y’ to save, press enter, and enter again to keep filename.
sudo reboot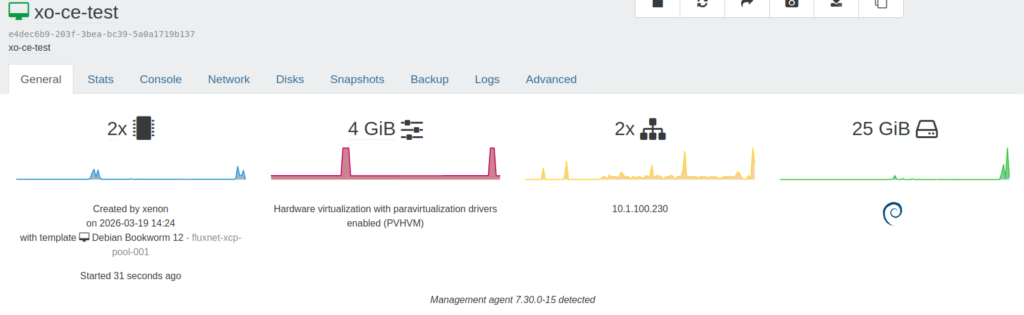
Management agent should now be detected on the ‘General’ tab for the VM.
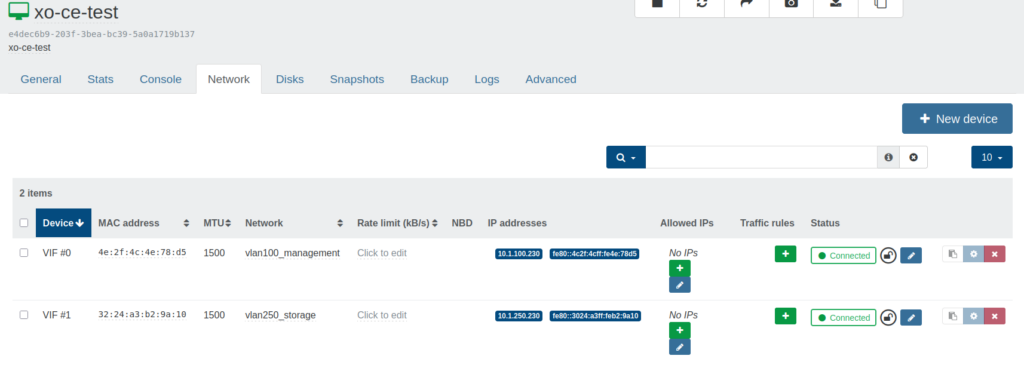
IP addresses should also be detected for both VIFs.
In an available terminal:
ssh [email protected]After logging in:
sudo apt update && sudo apt upgradeIf there are no updates, the VM is ready to begin either bonus method for deploying XO from Sources.